If you’re into music production or home recording, you’ve probably already got all of the necessary tools to make this happen. Either way, I’ve got your back today (and probably every day as well).
To connect a digital piano to your computer
1) Connect an audio interface to your PC using a USB or USB-C cable
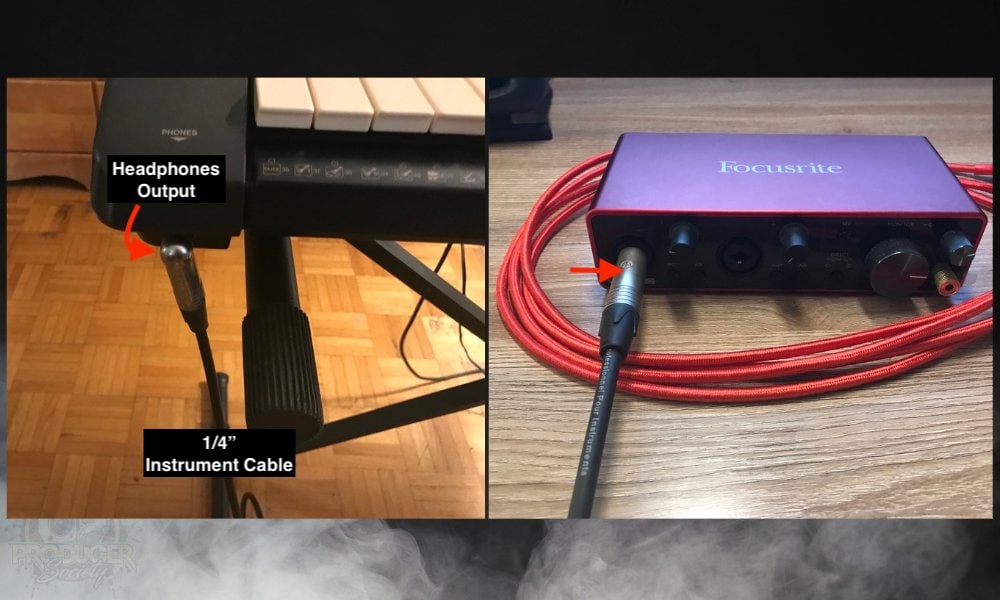
2) Attach a 1/4″ instrument cable [6.3mm jack] from the headphones output of your piano to the audio interface
3) Choose the line level setting on the audio interface
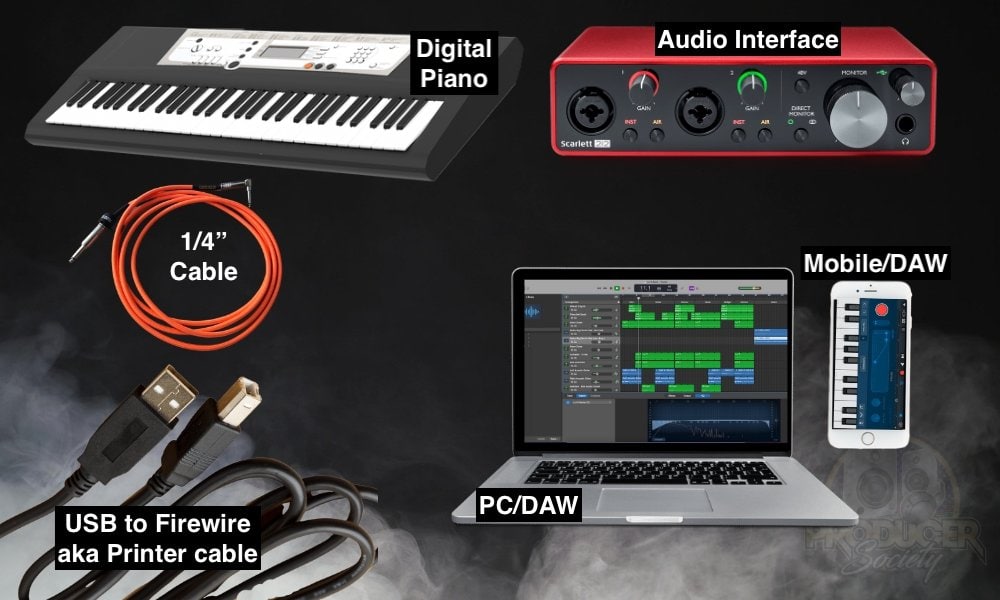
It doesn’t get harder than that. All you really need to connect a digital piano to your computer is an instrument cable with a 1/4″ jack, also called a guitar or bass cable, an audio interface like the Scarlett 2i2, and then a DAW loaded onto your computer. It can be any DAW too.
What Gear You Need To Connect A Digital Piano To An Audio Interface
1) Digital Piano – Yamaha P125
![My Yamaha Keyboard - How to Use A MIDI Keyboard Without A Computer [Or A DAW]](https://producersociety.com/wp-content/uploads/2022/08/My-Yamaha-Keyboard-How-to-Use-A-MIDI-Keyboard-Without-A-Computer-Or-A-DAW.jpg)
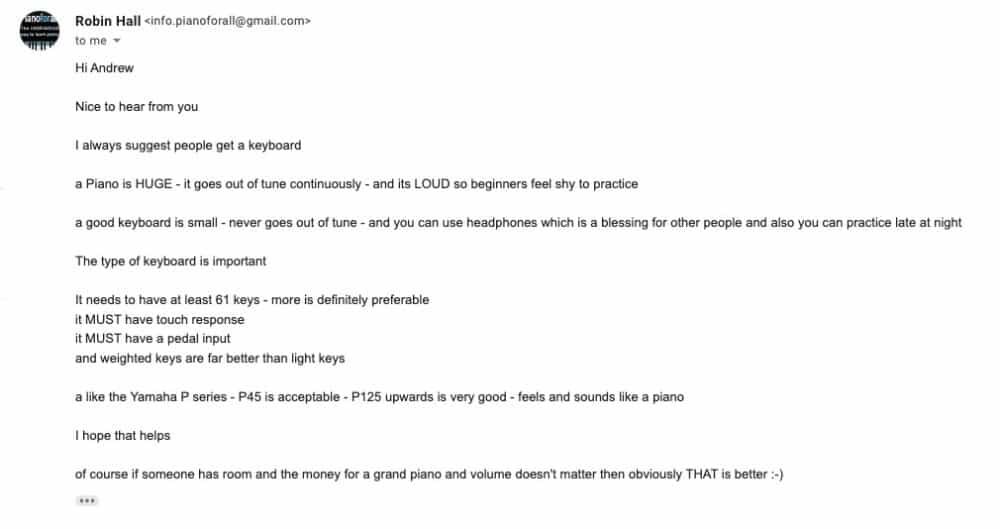
It’s also the piano that Robin Hall from PianoForAll (a great piano course for beginners) recommended beginners get when I emailed him about it.
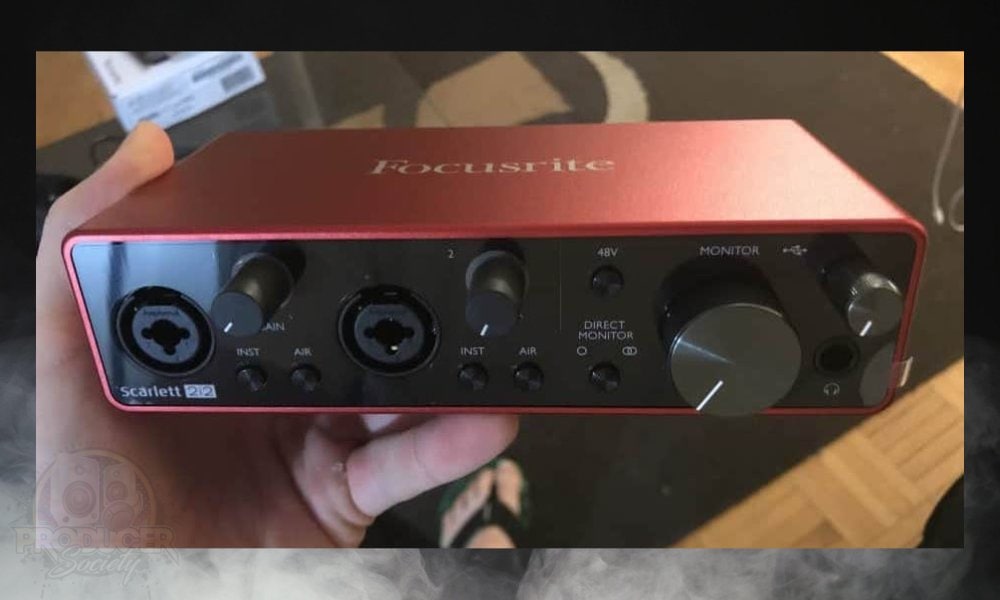
2) Audio Interface – Scarlett 2i2
3) USB-C to USB (Or A Printer Cable If You’re Using An Older Audio Interface)
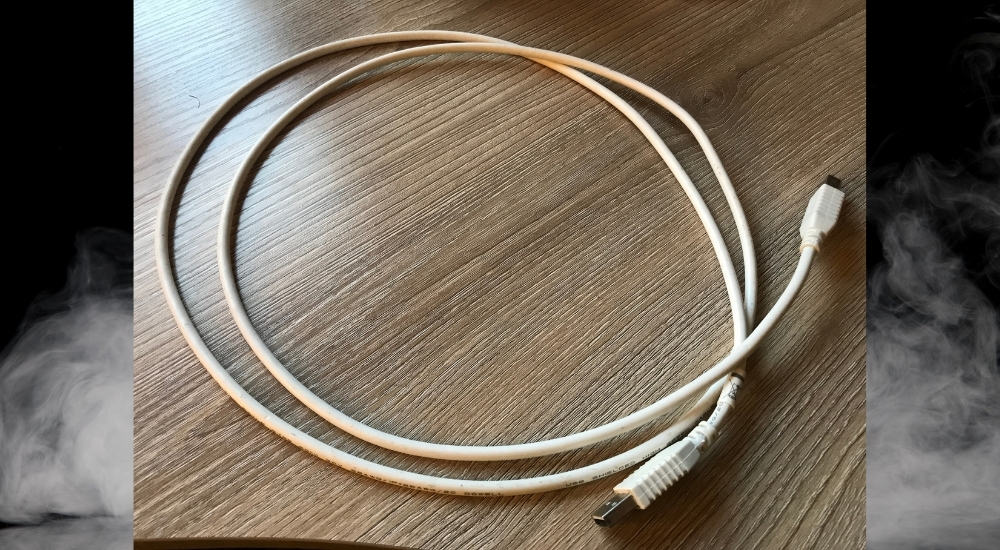
I’ve heard people refer to this cable in a number of ways. Probably the most common is for it to be called either a printer cable or a USB 2.0 cable. On occasion, I’ve heard it called a “firewire” cable, although, I’m not sure if this is technically correct.
Also, whether you use USB-C or not depends on the age of your audio interface. Newer audio interfaces will probably be using USB-C to USB cables (my guide on audio interfaces).
For example, my Saffire 6USB audio interface which I bought 10 years ago uses the classic printer cable port whereas my newer Scarlett 2i2 uses USB-C.
4) 1/4″ Instrument Cable – Ernie Ball
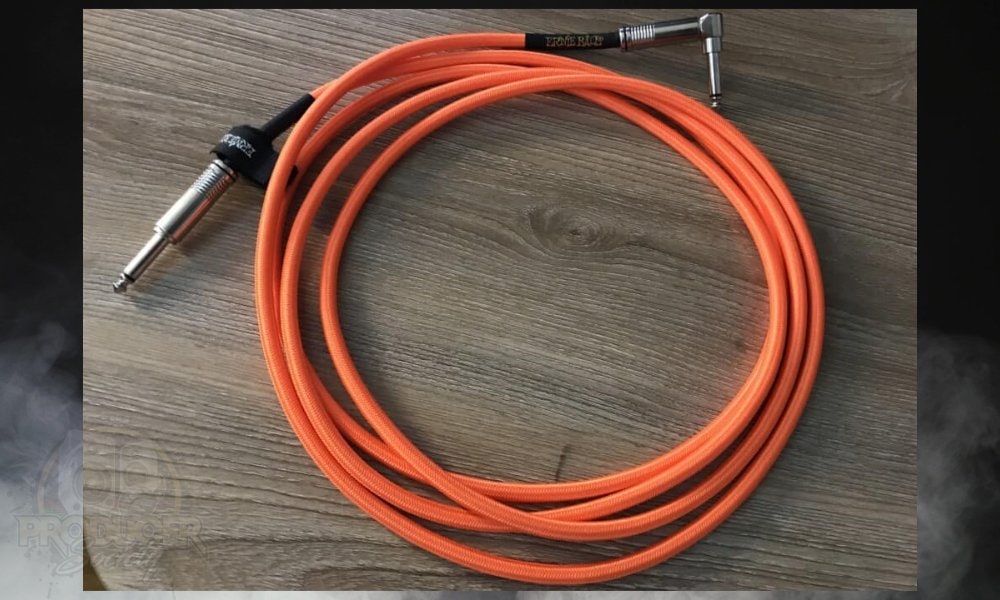
Ernie Ball or Pig Hog cables are dope, and these are what I use. I like the Ernie Ball right-angled cables which are linked above. However, Pig Hog or Road Hogs are great straight cables that are known for durability.
I have one of each and they’re dope cables. I wouldn’t get another brand now that I’ve seen how long-lasting they can be. Ultimately, it doesn’t matter too much what kind of cable you use because you’re just connecting it to the headphones’ output on the digital piano, although, I must say the right-angled jack is best suited for this port.
5) PC and DAW/Mobile Device and DAW

The device doesn’t matter so much because you’ve probably already got your own, however, the two that I’ve mentioned above are great if you’re trying to use GarageBand, Logic Pro X, or any of the other DAWs that are compatible with iOS and macOS.
For this tutorial which begins down below, I’ll be using GarageBand for demonstration, but the principles are the same regardless of which DAW you’re using. Anyway, let’s get this started then.
How to Connect A Digital Piano To Your Audio Interface [PC/Mobile]
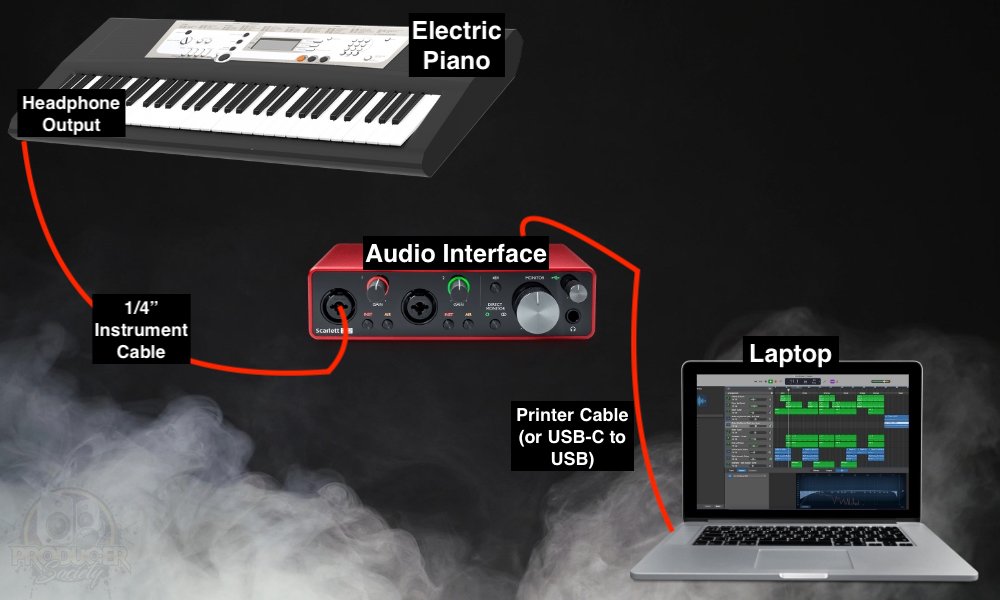
The above infographic is a bird’s-eye-view demonstration of how you would connect your digital piano to your computer and DAW – which includes your audio interface of course.
One thing I forgot to mention is you may need a USB-C to USB adapter for your computer (my Page), but this will depend on the model and how old it is. Mine does, for example, and it’s a 2017 MacBook Pro.
1) Connect Your Audio Interface To Your Computer With the Appropriate Cable
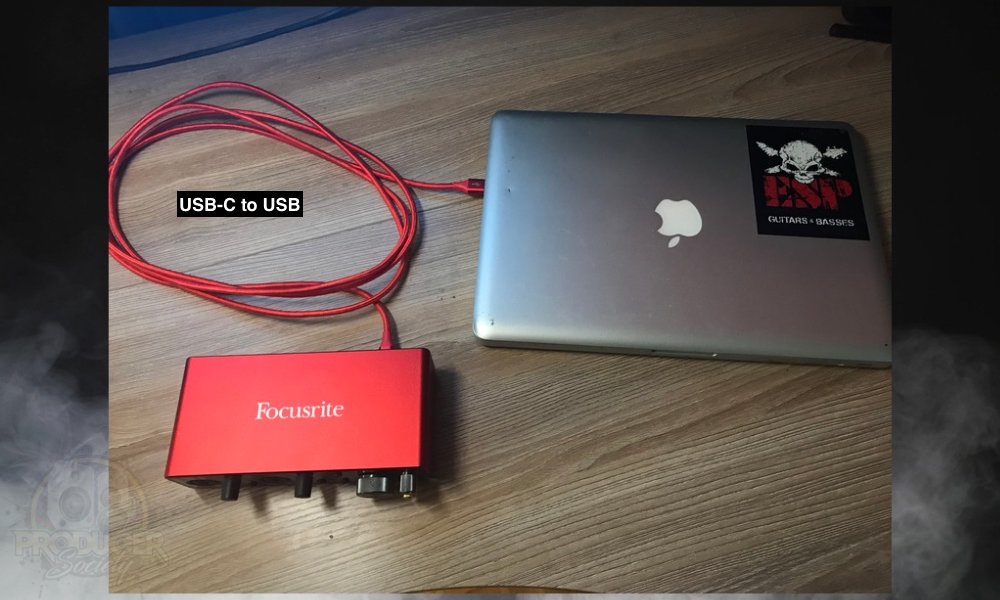
Because this computer is from like 2010, it doesn’t have the new and improved USB-C ports on the side – it uses the traditional USB 2.0 ports. The following three sub-headings consider some of the variability in terms of what kinds of cables and devices you could be using.
For Older Audio Interfaces

For Newer Computers (After 2016 Approximately)
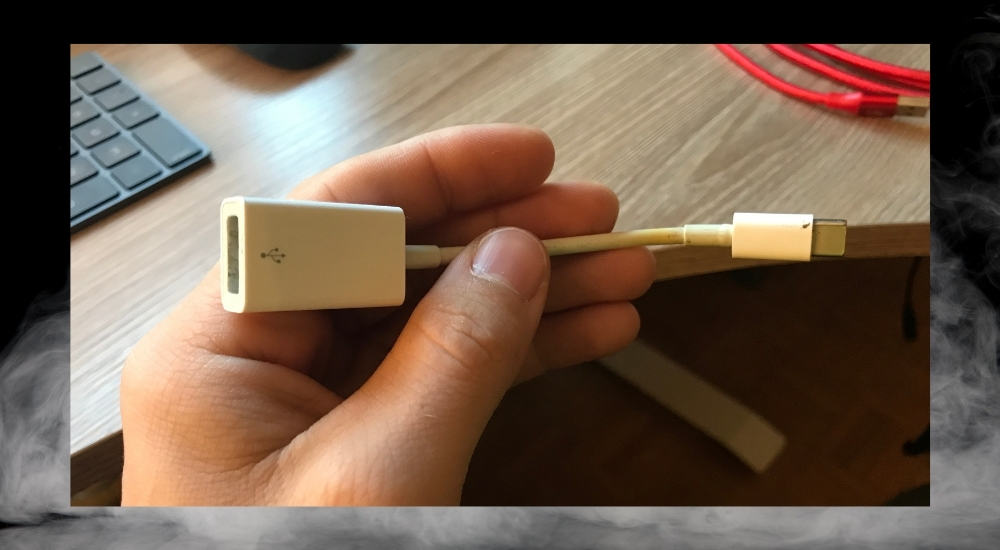
For iOS [iRig Pro I/O And The Appropriate Cable]

2) Run An Instrument Cable from the Piano’s Headphone Output to the Audio Interface Input
3) Turn The Gain Down On The Audio Interface If It’s Clipping
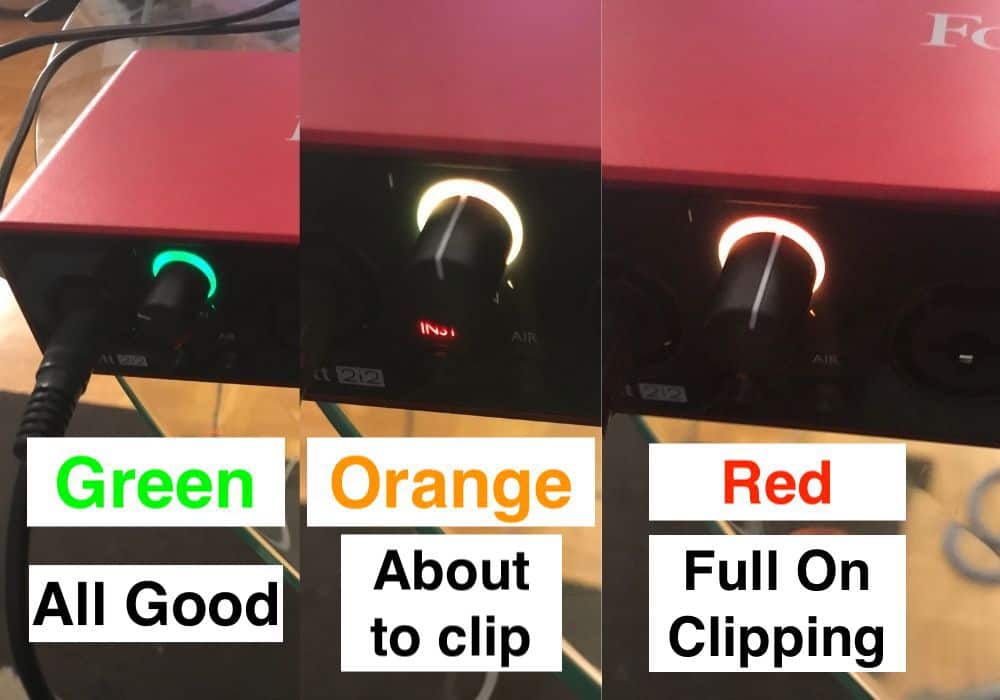
You may also have to turn down the master volume on the digital piano (or maybe even turn it up). Let’s dive into how to configure all of this in GarageBand’s settings.
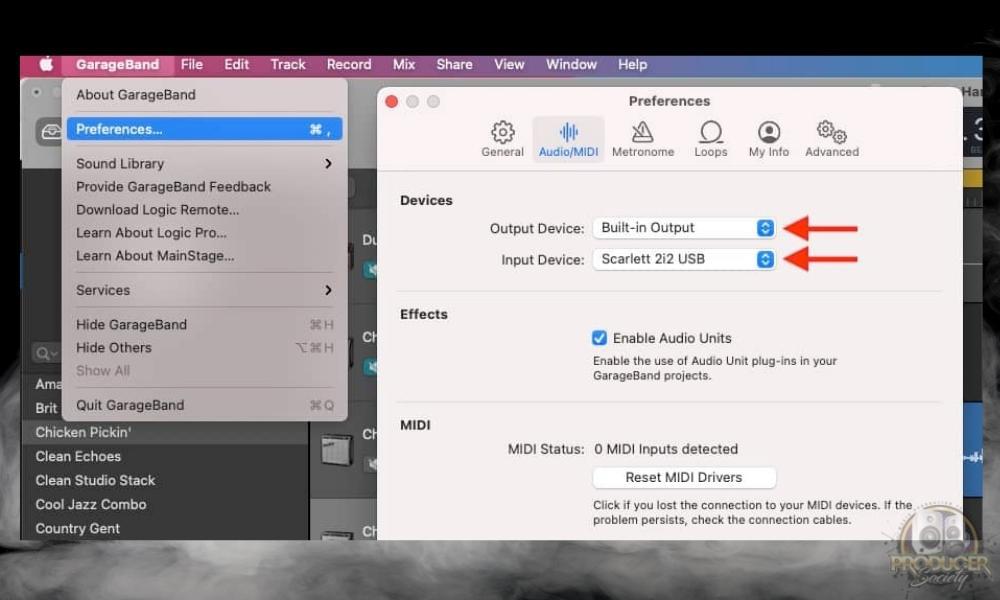
4) Configure The Audio Interface In GarageBand’s Settings
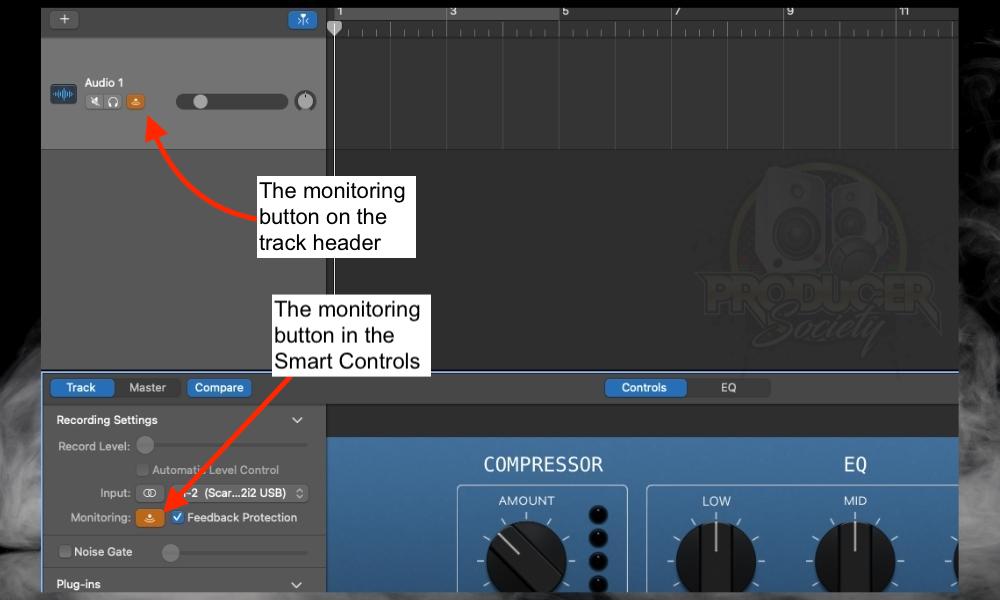
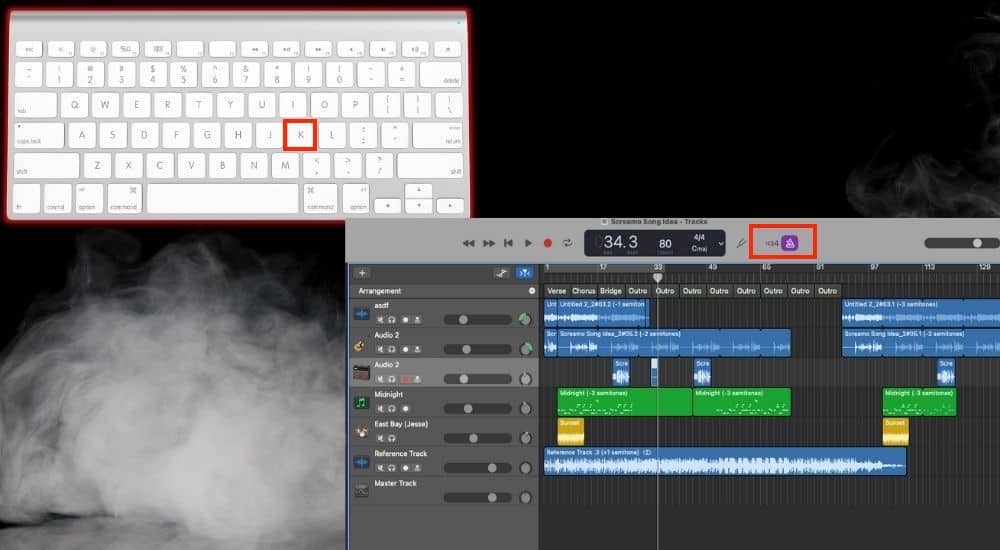
5) Turn Off The Metronome and Turn On the Monitoring Button
6) Start Recording
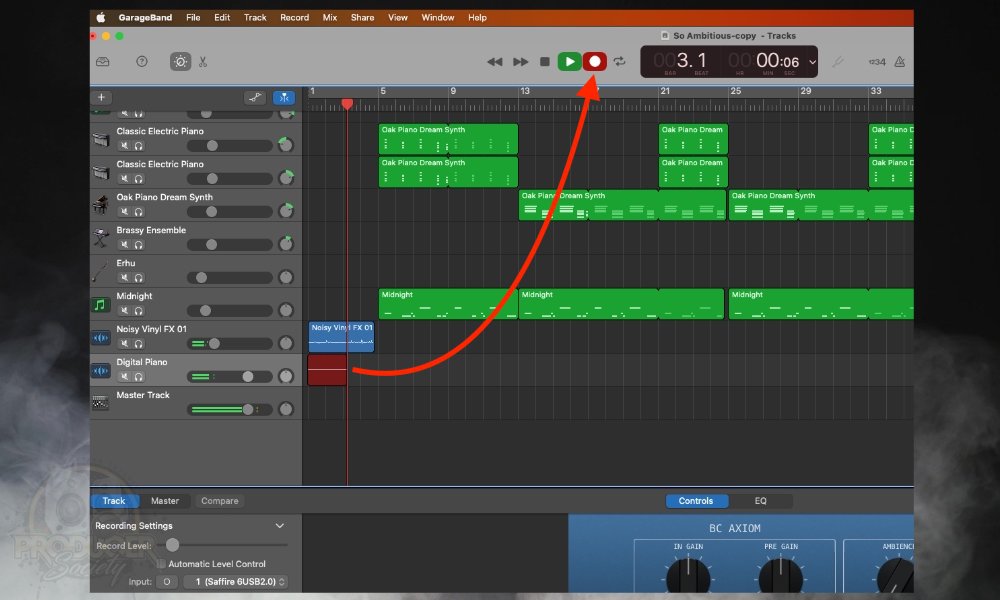
And that’s it for recording digital piano in your DAW. Very straightforward stuff. I’ve got plenty of other similar articles in the section highlighted below.
Other Articles You May Be Interested In
- How to Use A MIDI Keyboard Without A Computer [SIMPLE]
- How to Connect an Old MIDI Keyboard To PC/Mobile (Any DAW)
- How to Use the Scarlett 2i2 With GarageBand [iOS/macOS]
- Are Scarlett 2i2 Inputs Stereo or Mono? [Simple Answer]
- How to Use A Scarlett 2i2 with iPad/iPhone [Very Simple]
Important Things to Note On Connecting Digital Pianos To Audio Interfaces
1) Not All Electric Pianos Output Mono Sound
Apparently, in some cases, digital pianos’ headphone output will output a stereo signal that needs to be split into two signals: a left and a right signal. This means that if you plug it into your audio interface, you’ll just have the left side or the right side.
My piano thankfully outputs a mono signal but if yours didn’t, you can find stereo cables online.
2) Some Electric Pianos Have A USB Option For Connecting To Computers
Additionally, it’s not uncommon for more modern and more expensive digital pianos to have a USB port on the back of them. This means your piano has the capability to export high-quality digital audio directly to the PC or mobile device and DAW you’re using. Great stuff. Mine doesn’t have this unfortunately but I’ll get by just fine.
3) You Can Also Connect Your Piano To Your Speakers With RCA Cables
It’s also possible to connect your digital piano to your stereo speakers with RCA cables.. Most digital pianos will have 1/4″ ports on the back with “L” and “R” above them to tell you what they’re meant for.
Gear Mentioned
1) Yamaha P125
2) PianoForAll
3) Scarlett 2i2
4) Printer Cable
5) Ernie Ball Instrument Cable
6) MacBook Pro 2022, M2, 16GB RAM, and 1TB
7) iPhone X 64GB


 Written By :