As an Amazon Associate, I earn from qualifying purchases. Additionally, I earn a commission through each purchase made on Amazon, Clickbank, zZounds, Plugin Boutique, Plugin Fox, Thomann, Jam Play, and Punkademic from one of my links.
During an experiment recently, I found out that it’s possible to connect a looper pedal directly to your audio interface and a DAW for playback.
To connect a looper pedal to your PC and DAW, connect your audio interface. Load a DAW like GarageBand on your PC, then connect an instrument cable from the audio interface’s input to the looper pedal’s output, and then another from the pedal’s input to your instrument.
With your DAW open and an audio track loaded, you’ll be able to record a loop with just your computer, audio interface, and your looper pedal. This will work just fine for any kind of instrument that uses a 1/4″ jack, including guitars, keyboards, violins, bass, etc.
What Gear You Need to Connect A Looper Pedal To An Audio Interface
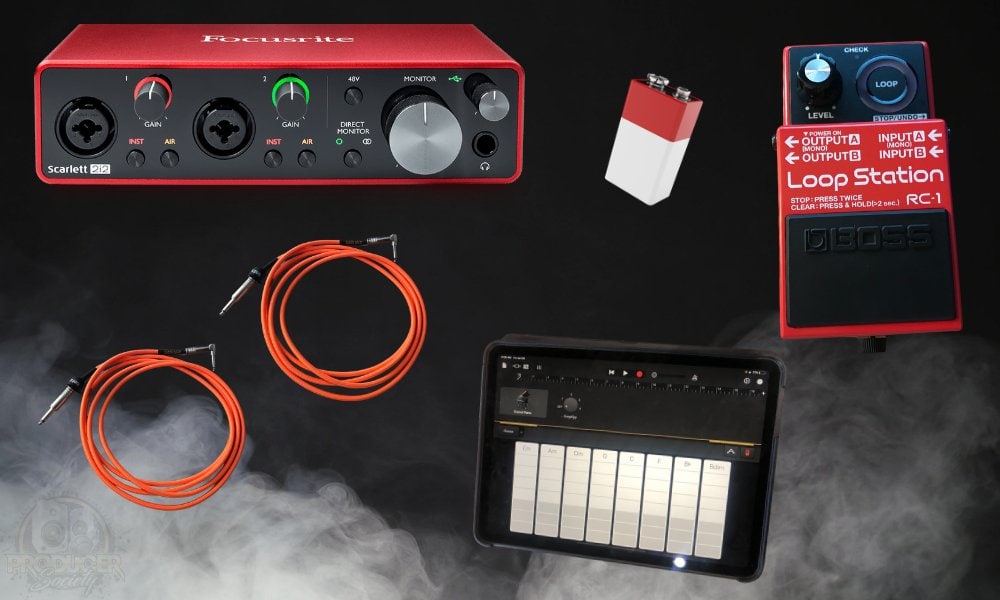
- Looper Pedal – BOSS RC-5 (on Amazon/Thomann/zZounds)
- Audio Interface – Scarlett 2i2 (on Amazon/Thomann/zZounds)
- 2 Instrument Cables – PigHog Cables (on Amazon/zZounds)
- Battery or Power Supply – 9V Duracell or MXR Isobrick 238 (on Amazon/Thomann/zZounds)
- Computer or Phone – (Whatever You Have)
- DAW – GarageBand/BandLab
- USB-C Adapter (on Amazon)
You need a DAW loaded on your PC or mobile device in order to actually record a loop. Sure, you could connect your looper pedal to an audio interface, but if the audio interface isn’t connected to anything, it’ll be for nothing.
Connecting your audio interface to your PC or mobile device can require different kinds of cables which depend on how old your equipment is (here’s my guide on this). For instance, older audio interfaces will use a Firewire Cable (also called a Printer Cable), whereas the newer ones will use USB-C cables.
If you purchase an audio interface like the aforementioned Scarlett 2i2, the one I’m using for the tutorial, you should get the cables in the box. I’ll show you how to set everything up now.
How To Connect A Looper Pedal To An Audio Interface
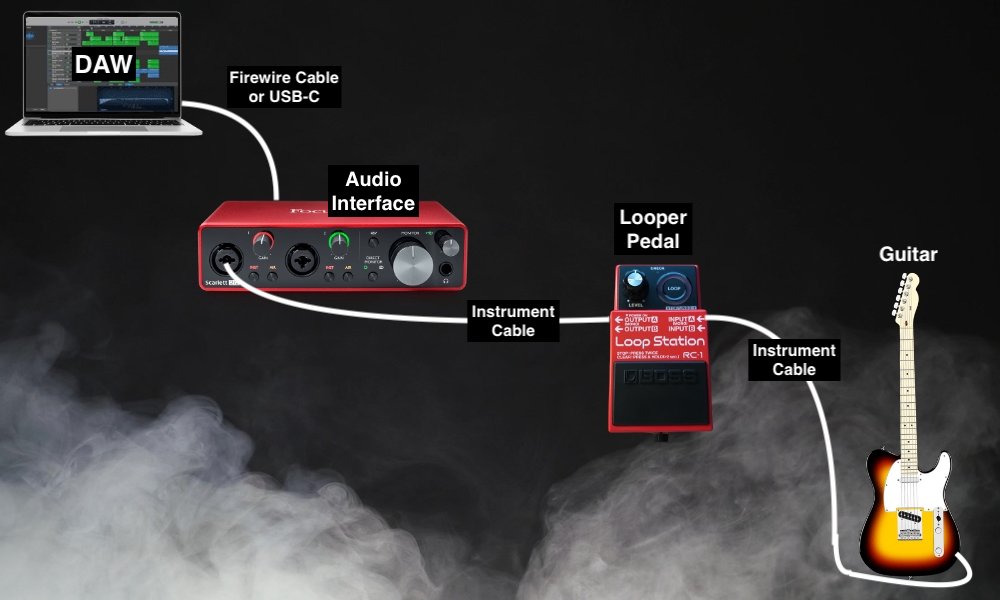
In the case where you want to use an iPad or a mobile phone instead, just switch out the laptop like what’s shown in the image above for your tablet/smartphone. I’ve got another full guide on how to connect audio interfaces to mobile devices in the context of using external microphones and another one for mixers.
1) Connect the Audio Interface to Your Computer
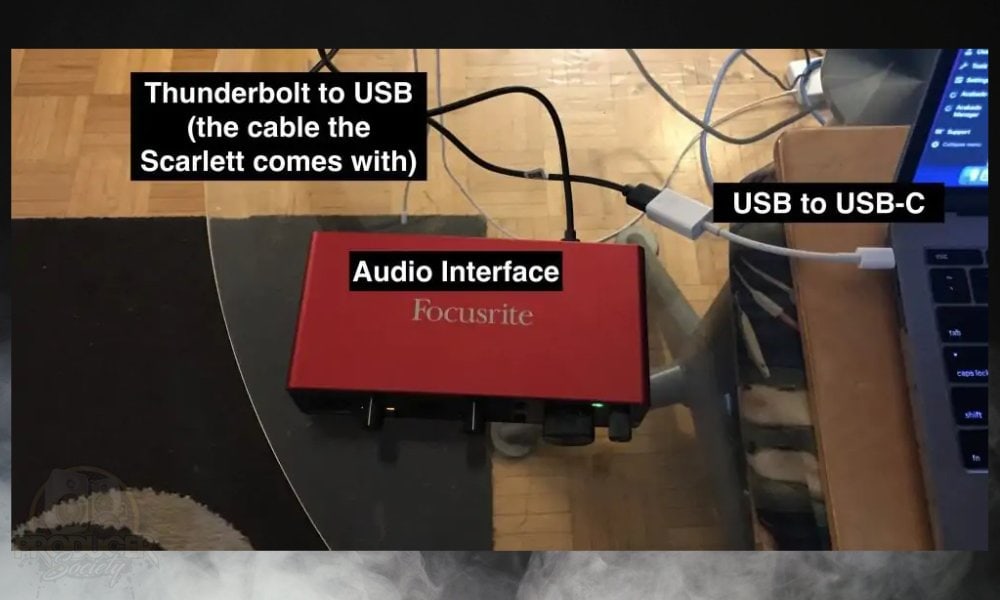
If you haven’t already done this before, I have a tutorial on how to do it with PC and mobile devices. It’s pretty straightforward. Just connect the USB-C cable or firewire cable to your computer’s USB port, and then run it up to the port on the back of the audio interface.
Most audio interfaces, including the Scarlett 2i2, are buss-powered which means they take their power from the device they’re connected to. If you’re using a mobile device, however, you – in some cases – may have to use either a power bank, or you could just use an audio interface with its own power source like the iRig Pro I/O.
2) Open Your DAW and Bring Up An Audio Track

If you take a look at the bottom of the image above, you can see that GarageBand has already recognized Scarlett 2i2 as the audio interface it’ll be using. You can configure your other settings here as well, including where you output sound and also the tempo, key signature, and time signature.
3) Connect An Instrument Cable From the Audio Interface’s Input to the Looper’s Output
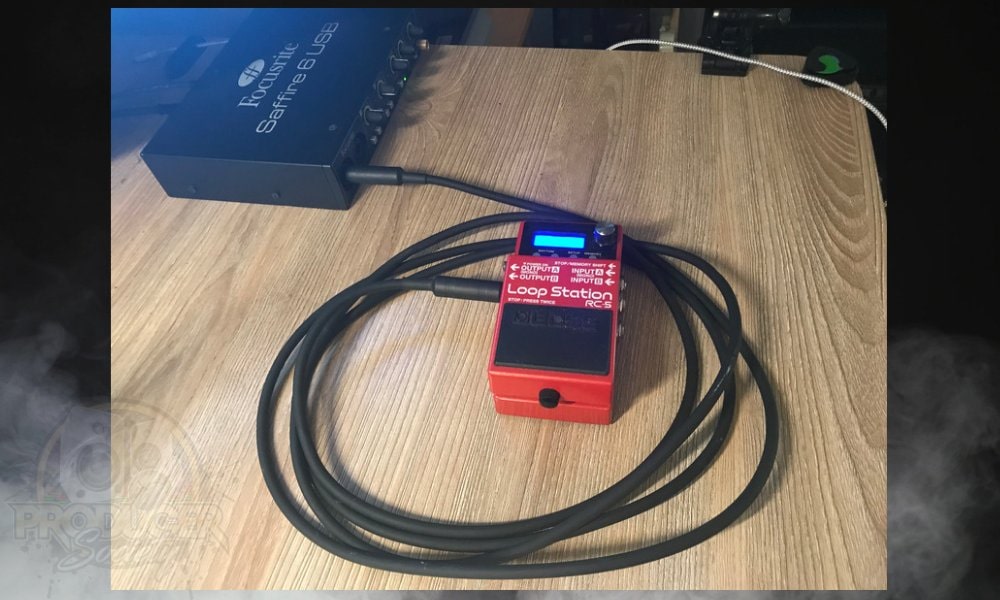
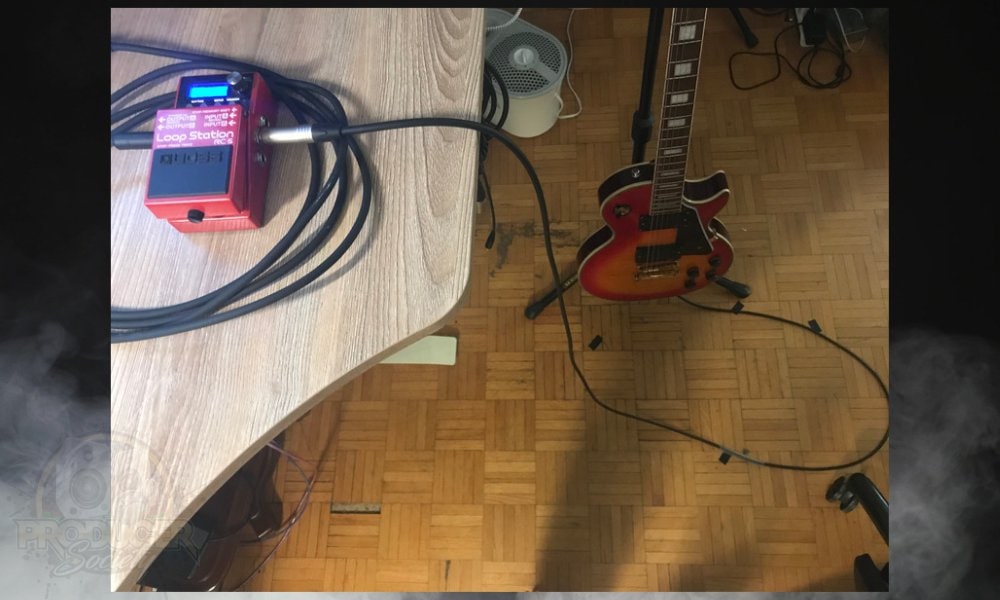
This is all fairly self-explanatory, but just make sure you’ve connected the instrument cable to the right output on the pedal. In the case of the BOSS RC-5, you’ll want it connected to Output A, and then the other cable in Input A.
4) Connect Another Cable from the Audio Interface’s Input to Your Instrument
5) Make Sure To Put In A Battery in the Pedal (Or Use A Power Supply)
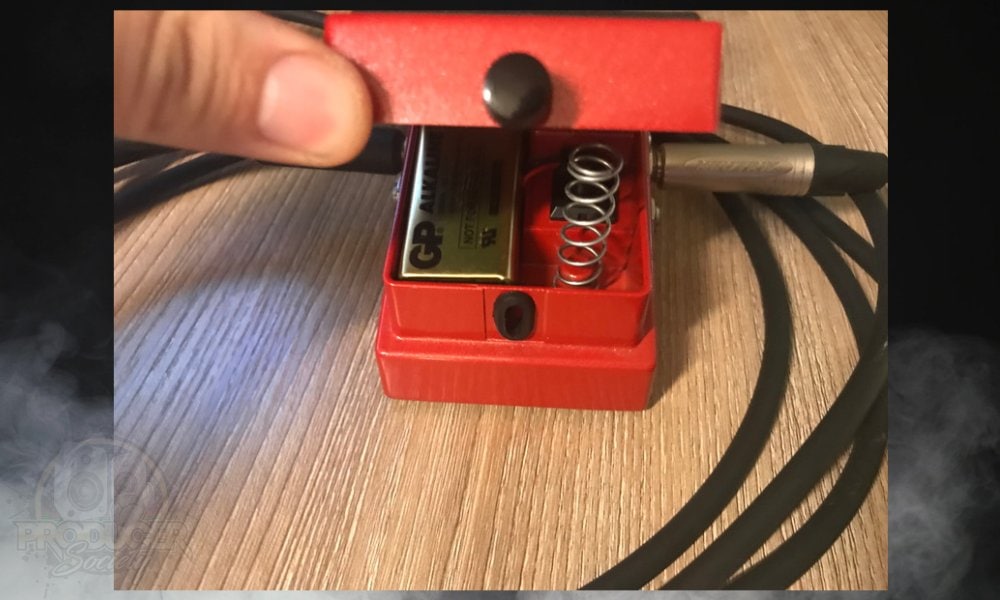
If you already have a looper, you probably don’t need to be reminded that they need power, but it’s worth stating anyway.
Now that you’ve got everything connected, go to GarageBand or whatever your DAW is and load up an amplifier simulation or the audio track you plan on using. You’ll notice that you can play the guitar and it’ll output through the computer speakers.
6) Press the Foot-Switch And Start Recording A Loop – The DAW Will Act Like An Amplifier
![BOSS Rc-5 Looping in GarageBand - How to Connect A Looper Pedal To An Audio Interface [EASY]](https://producersociety.com/wp-content/uploads/2022/11/BOSS-Rc-5-Looping-in-GarageBand-How-to-Connect-A-Looper-Pedal-To-An-Audio-Interface-EASY.jpg)
I don’t know why I’m so surprised that this actually works. It makes sense if you think about it. Here’s what this setup looks like when I’m all said and done.
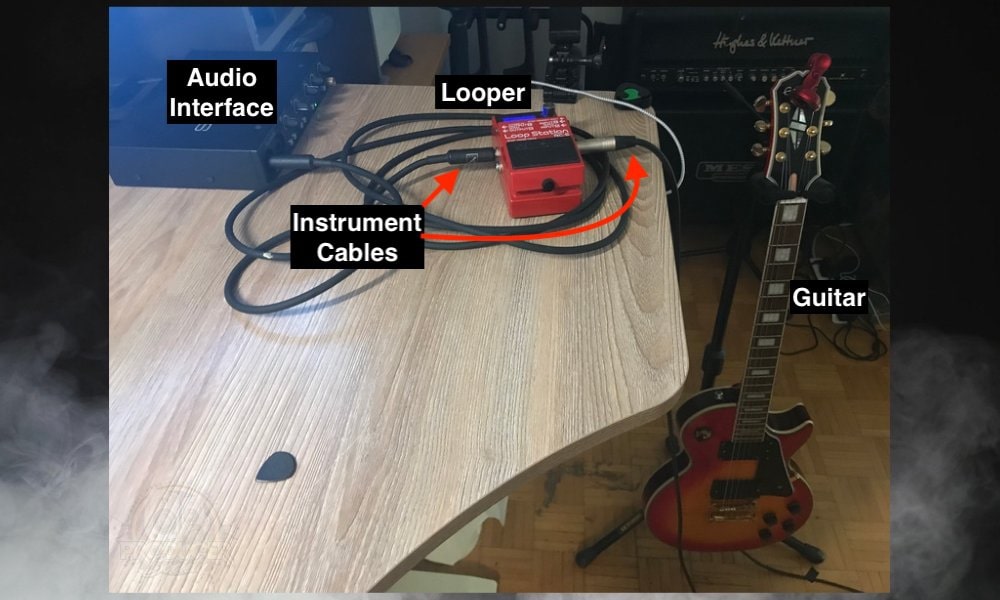
And that’s pretty much it for this article. Frankly, I’m not entirely sure why a person would even want to hook a looper pedal up to their DAW, because you can just record and overdub tracks easily in your DAW.
That said, there are some features in the RC-5 that are easier to use or more accessible than how you would use it in a DAW, ie, overdubbing and reversing are just two examples. Anyway, here are some other articles down here that you may find helpful.
Other Articles You May Be Interested In
- How to Connect an Old MIDI Keyboard To PC/Mobile (Any DAW)
- How to Connect Scarlett 2i2 to MacBook Pro? (Full Tutorial)
- How To Connect Your Guitar to GarageBand iOS
- How to Connect MIDI Keyboard Into Garageband
- How to Connect A Microphone to GarageBand iOS [iPad/iPhone]
Important Things to Note About Loopers & Audio Interfaces
1) It May Make More Sense To Just Record Loops In A DAW
As I mentioned earlier, it’ll probably make more sense for people to just use the recording and overdubbing features built right into the DAW. But there could be some practical applications of this setup that I’m just not seeing right now.
Additionally, it’s worth stating that this same process can be repeated but with a different kind of musical interface. In other words, rather than using a DAW, there is probably something else you could use. Maybe a guitar amplifier simulator on your phone, for instance.
Gear Mentioned
1) BOSS RC-5 (on Amazon/Thomann/zZounds)
2) Scarlett 2i2 (on Amazon/Thomann/zZounds)
3) PigHog Cables (on Amazon/zZounds)
4) MXR Isobrick 238 (on Amazon/Thomann/zZounds)
5) USB-C Adapter (on Amazon)

 Written By :