To use the Scarlett 2i2 with a microphone
1) Connect the Scarlett to your PC/mobile device with a USB-C cable
2) For older phones, connect a power bank or block charger with a USB Camera adapter
3) Connect the microphone with an XLR cable
4) Press the 48v button (phantom power) for a condenser mic
The nice thing about the Scarlett 2i2 is that it’s bus-powered. This just means that it takes power from your connecting device to run, similar to how most MIDI keyboards also work.
There was a time (pre-2018 if you’re using an iPhone/iPad) when you needed a power bank because iOS devices didn’t have enough juice to run the Scarlett, but that has since changed.
How to Connect a Scarlett 2i2 and a Microphone To Your Computer
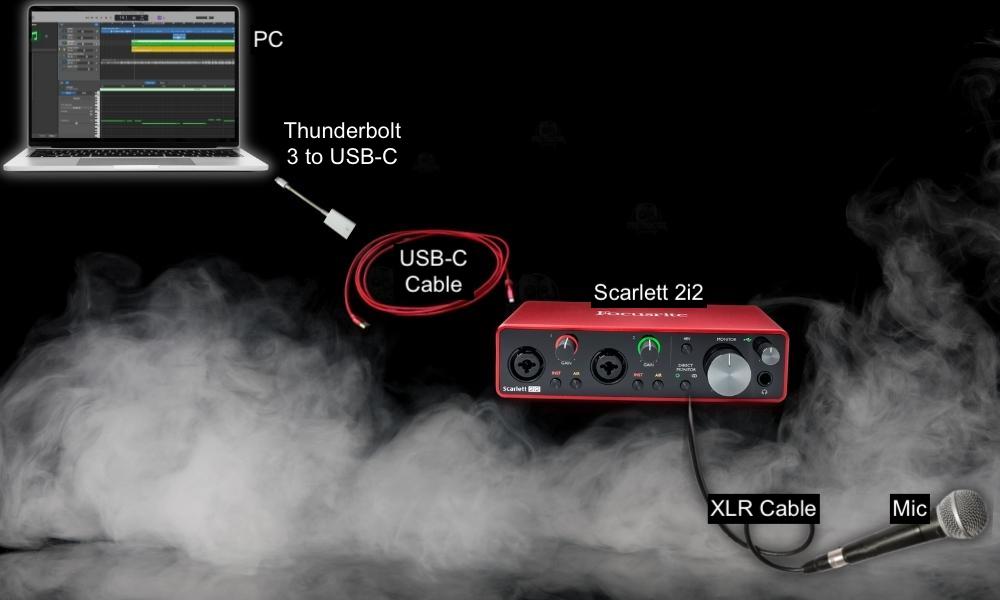
Connecting a microphone to a Scarlett 2i2 and your computer is dead simple. You just need a couple of pieces of equipment. Assuming you already have your Scarlett hooked up, you just need an XLR cable to connect the mic right into the XLR input.
The newest Scarlett 2i2s has 1/4″ and XLR inputs combined into one, so you can choose either input for the microphone.
What Gear You Need
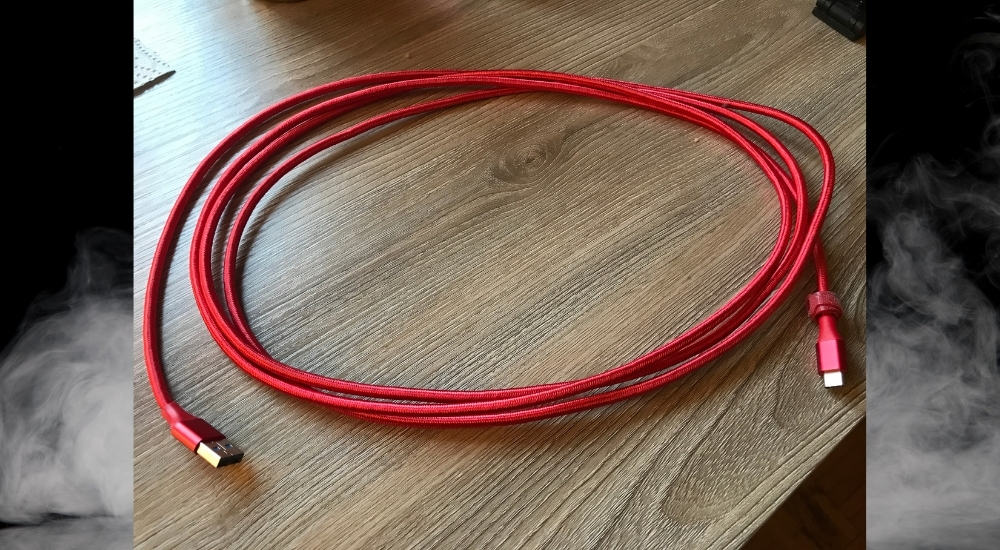
1) USB-C Cable
This is the USB-C cable that I always recommend people get because the Amazon Basics cables are actually pretty great. I’ve had mine for a long time now and it still works perfectly. It’s better to be too long than too short, so grab a 10-foot one, just in case.
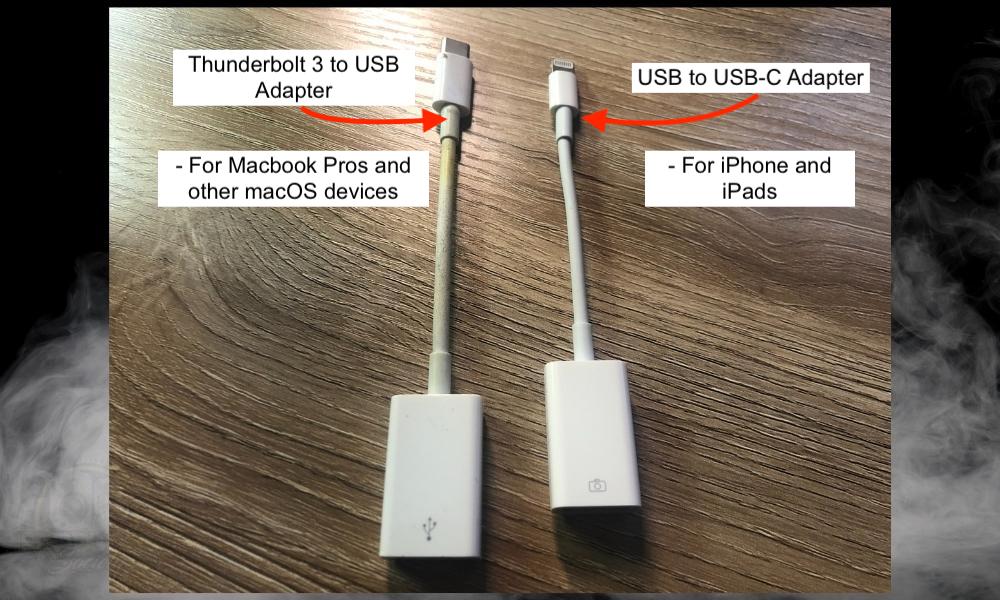
2) Thunderbolt 3 to USB-C Adapter
Whether or not you need a Thunderbolt 3 to USB adapter or a Lightning to USB adapter depends on if you’re connecting to a computer or a mobile device.
Additionally, it depends on the year your computer was made too. I believe Apple, for example, switched over to Thunderbolt sometime around 2016. So if you’re using a pre-2016 MacBook, a standard USB cable will probably be fine and you won’t even need a USB adapter.
I have a 2018 MacBook Pro, so I need the Thunderbolt to USB adapter because that’s what kind of ports I have. You want to choose the one on the left if you’re in the same boat. For iPhone, however, you want the one on the right – the lightning to USB adapter.
3) Dynamic, Ribbon, or Condenser Microphone
![Ribbon, Dynamic, Condenser Mics - How to Use the Scarlett 2i2 With A Microphone [EXPLAINED]](https://producersociety.com/wp-content/uploads/2022/06/Ribbon-Dynamic-Condenser-Mics-How-to-Use-the-Scarlett-2i2-With-A-Microphone-EXPLAINED-1.jpg)
A Scarlett 2i2, and really any audio interface for the matter, can handle all types of microphones. You can use a ribbon, dynamic, or a condenser microphone, which are pictured in the image above from left to right. However, which one you choose will impact how you adjust the settings. We’ll talk more about this down below.
4) Scarlett 2i2
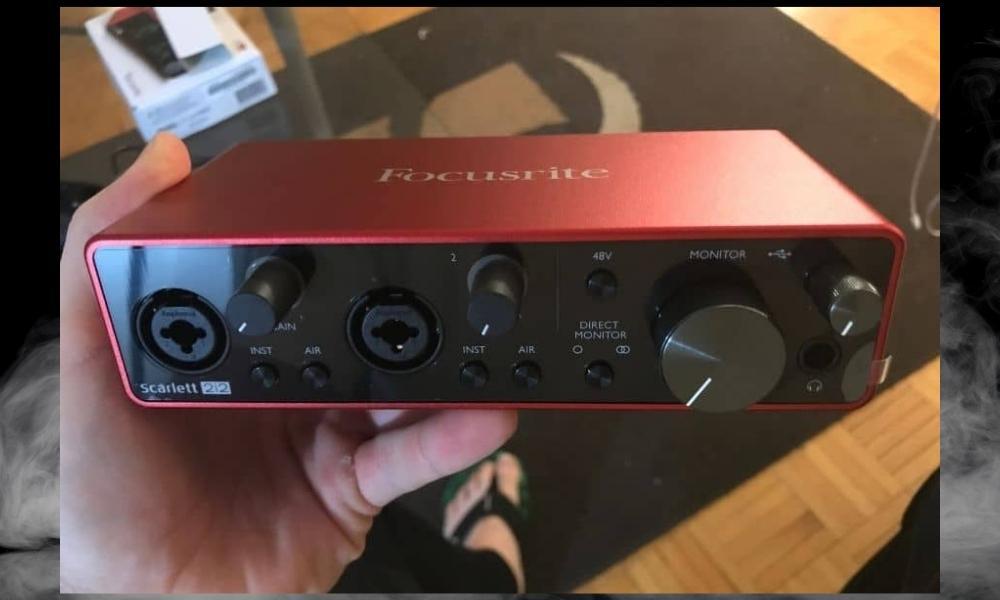
Of course, you need the Scarlett 2i2 as well. I have the latest model which is the 3rd generation Scarlett. For older Scarlett models, you’ll want to use the old-school USB printer cables like this one on my Product Page.
5) XLR Cable
Most microphones use what’s called an XLR cable. These are balanced cables that feature a male and female side with three prongs or three slots. It’s wise to own more than one of these, and it’s also wise to have a good one like a D’Addario XLR cable or a similar brand-named cable.
1) Connect Your USB-C Adapter to Your PC and Plug the Scarlett 2i2 Into Your Computer
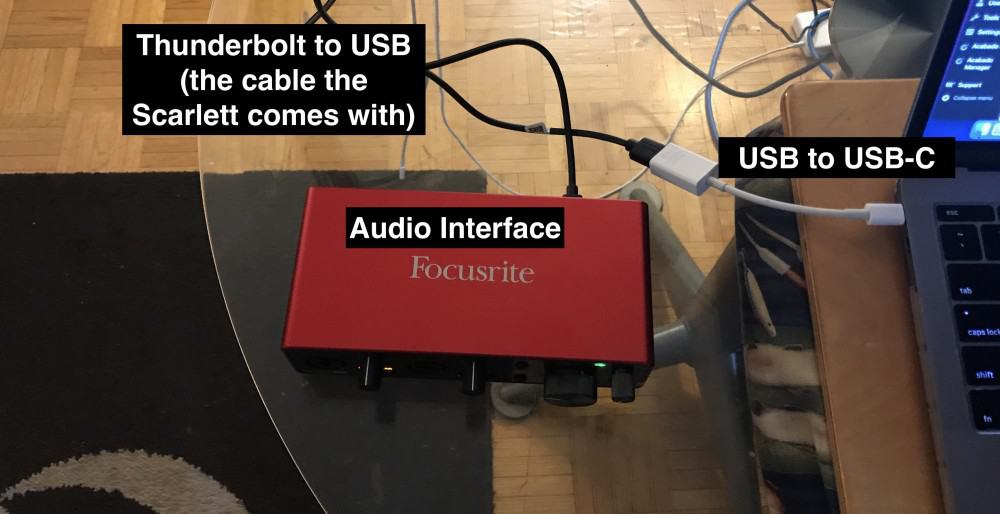
Much of this is pretty simple and straightforward. Just connect it as is shown in the image above.
2) Connect Your Dynamic, Condenser, or Ribbon Microphone by XLR Cable

The diagram shown here is a bird’s-eye-view look at how to connect a Scarlett 2i2 and a microphone to your computer.
Dynamic Microphone Settings
If you’re using a dynamic microphone like a Shure SM58, for example, you’ll find that you need to turn the gain up on the audio interface. I mentioned this in my review of the Shure SM58, but ultimately it’s not that big of a deal.
Another thing you can do is use the AIR feature on the interface. What this does is that it boosts the pre-amplifier in the Scarlett 2i2 just a little bit and gives the signal more high-end (more on this in my guide to audio interfaces). Ensure that you’ve switched off the INST button as well.
Condenser Microphone Settings
If you’re using a condenser microphone, you’ll definitely need to switch on the 48v (phantom power) button. This gives the microphone the extra juice that it needs to perform optimally.
Make sure you don’t forget this because you could wind up thinking that there’s something wrong with your mic when all you have to do is give it phantom power.
Because of the added phantom power, you won’t have to turn the gain up as much. Additionally, make sure INST is turned off and try the AIR feature if you need more high-end. I imagine you won’t need any more if you’re using a condenser microphone because condensers already have more high-end than usual.
Ribbon Microphone Settings
In some cases, dynamic and ribbon microphones can require phantom power as well, but usually, they don’t. As I’ve explained in my guide to the MXL R144 ribbon mic, phantom power can often destroy ribbon microphones, so make sure you have your 48v button switched off before you do anything.
If I use a ribbon microphone like the MXL R144, for example, I find it’s useful to have the gain turned up to around halfway along with the AIR feature switched on. The MXL R144, and many other ribbon microphones as well, tend to sound a bit darker.
How to Connect a Scarlett 2i2 and a Microphone to Your Mobile Device
What Gear You Need
1) USB-C Cable, Lightning to USB-C Adapter, Ribbon, Dynamic, or Condenser Mic, XLR Cable, and the Scarlett
![Gear Needed - How to Use the Scarlett 2i2 With A Microphone [EXPLAINED]](https://producersociety.com/wp-content/uploads/2022/06/Gear-Needed-How-to-Use-the-Scarlett-2i2-With-A-Microphone-EXPLAINED-1.jpg)
However, rather than using the Thunderbolt 3 to USB adapter like I previously mentioned, you’ll want to use the Lightning to USB instead. This is just the adapter that’s needed for the iPhone instead of the MacBook Pro or whatever macOS device you’re using.
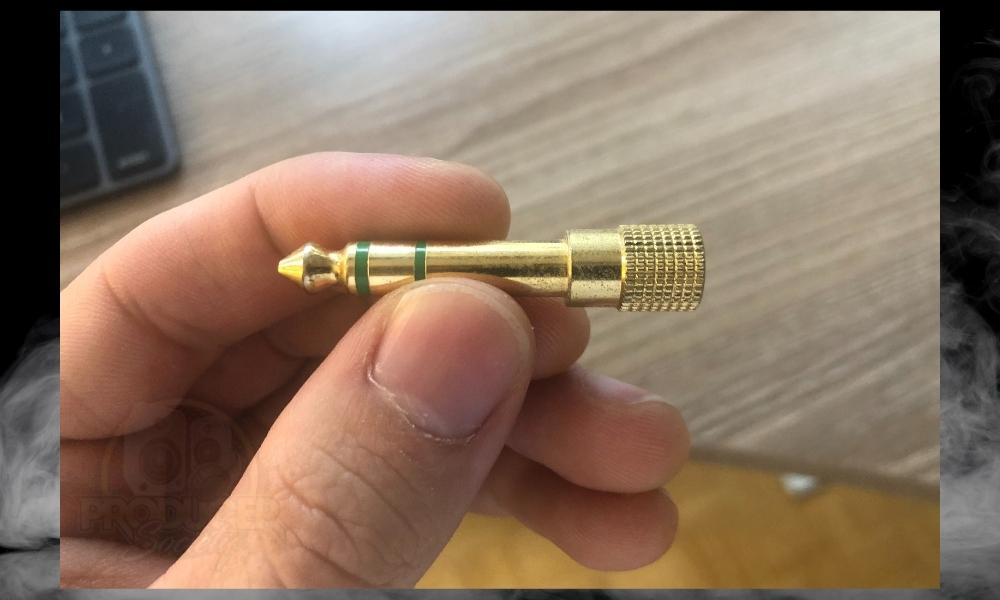
2) 1/4″ Headphone Adapter for the Headphones
If you actually want to hear yourself recording and monitoring, you’ll want a 1/4″ headphone adapter so you can connect your headphones to the front of the audio interface.
You can also use 1/4″ speaker cables and connect them to the Left and Right outputs on the back of the Scarlett 2i2 instead.
Optional (iOS Mobile Devices Before 2018)
3) USB Multiport Adapter (Camera Adapter)
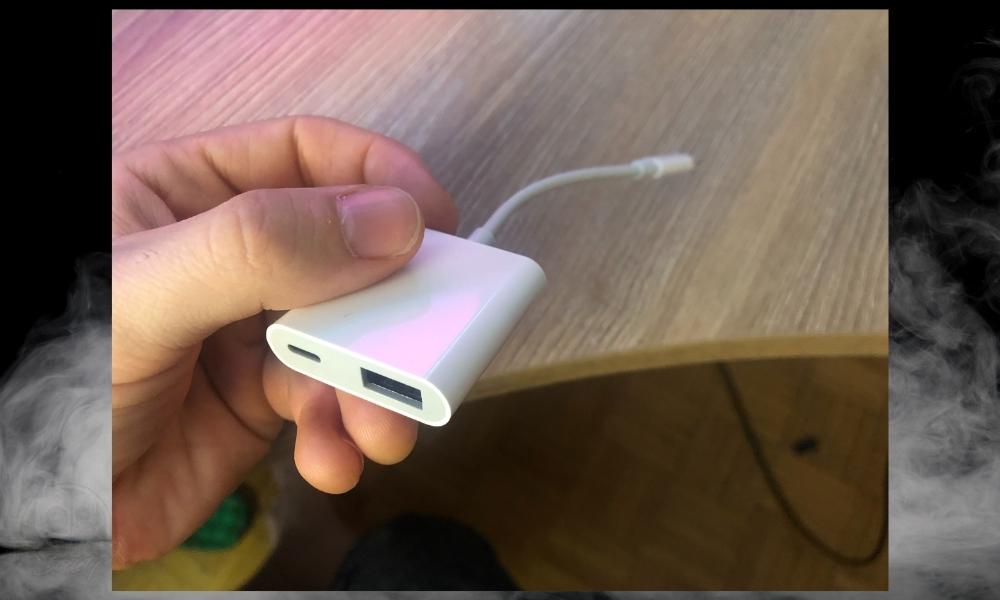
I’ve listed the multiport adapter and the Power Bank as optional accessories because you don’t necessarily need them if you’re using a newer iPhone or Android device. I talked about this a bit more down in the Important Things to Note Section at the end of the article.
4) Power Bank or Block Charger
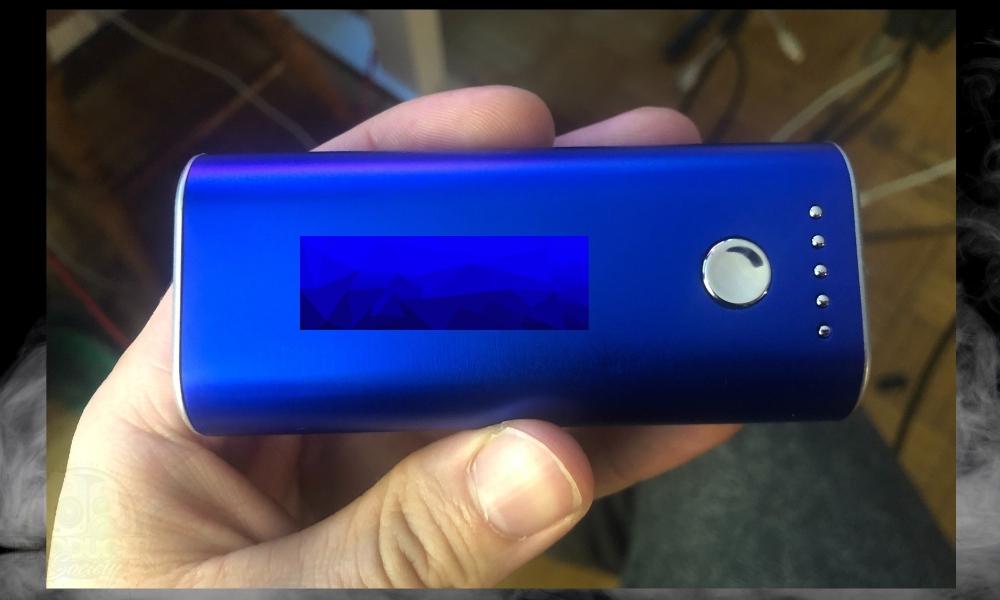
You can either use a power bank like the one that’s pictured here, or you can use a standard block charger. I prefer to use the power bank because then you don’t necessarily need a power outlet near you.
1) Connect The USB Adapter to Your Mobile Device
![Lightning to USB - How to Use the Scarlett 2i2 With A Microphone [EXPLAINED]](https://producersociety.com/wp-content/uploads/2022/06/Lightning-to-USB-How-to-Use-the-Scarlett-2i2-With-A-Microphone-EXPLAINED.jpg)
2) Connect the USB-C Cable from the Scarlett 2i2 to Your Phone
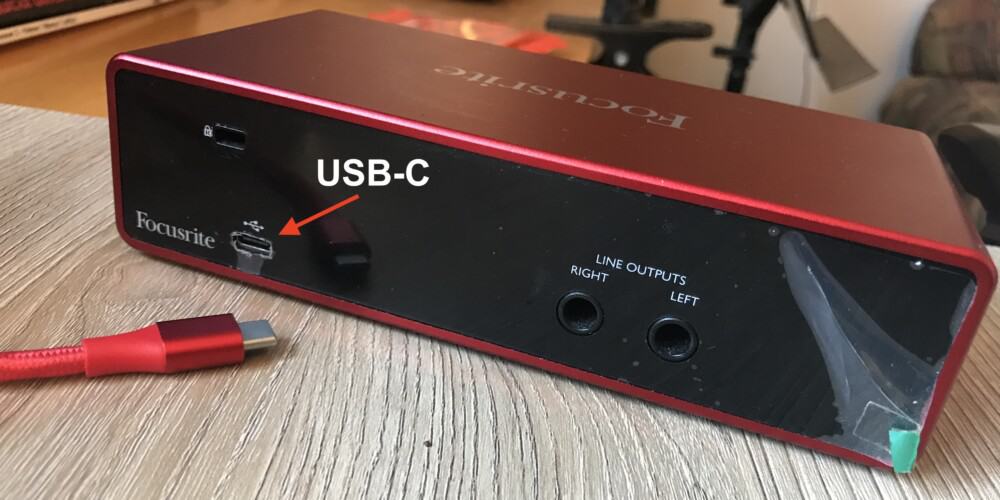
3) Connect the Microphone With The XLR Cable
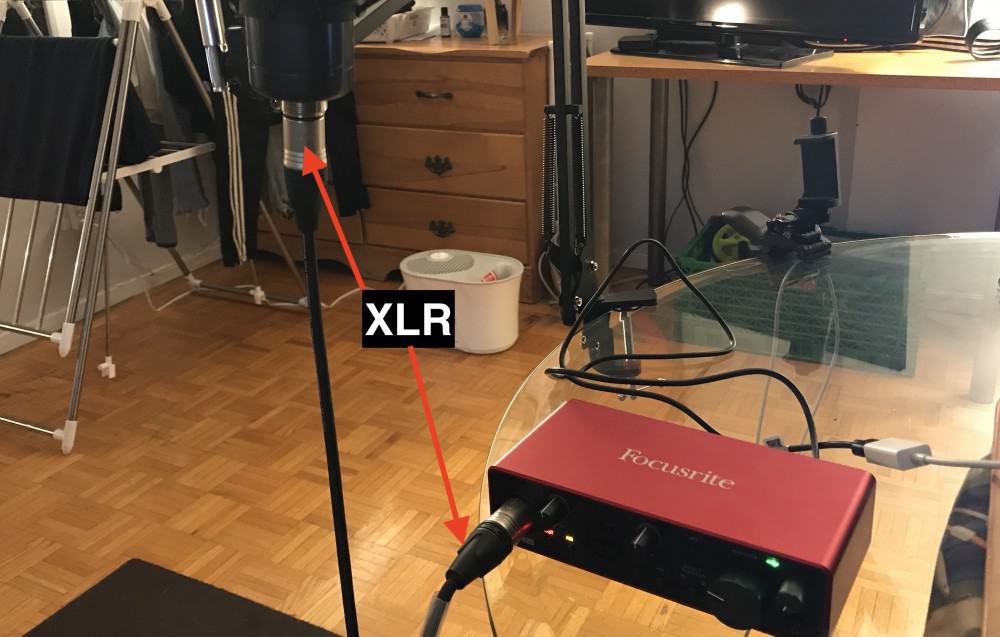
This isn’t the final step though, because as I said earlier, you’ll need to connect headphones to the jack on the front.
4) Connect A 1/4″ Headphone Adapter and Headphones/Speakers
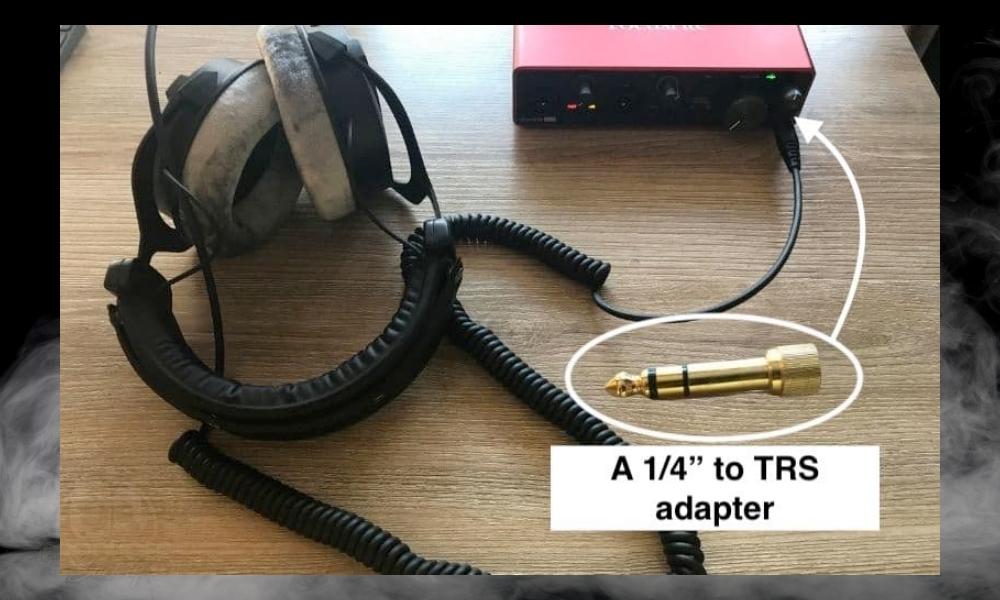
I prefer using the Beyerdynamic DT 990 Pros, but obviously, any headphones will do. According to Focusrite, the Scarlett 2i2 has the ability to power headphones with an impedance of 200ohms maximum.
I recommend anything within that guideline. For the next section, I’m going to show you how to power the audio interface if you’re using an older iPhone.
How to Connect A Scarlett 2i2 to A Device That Requires External Power
1) For Older iOS Devices (Pre-2018), Connect A Multiport Camera Adapter
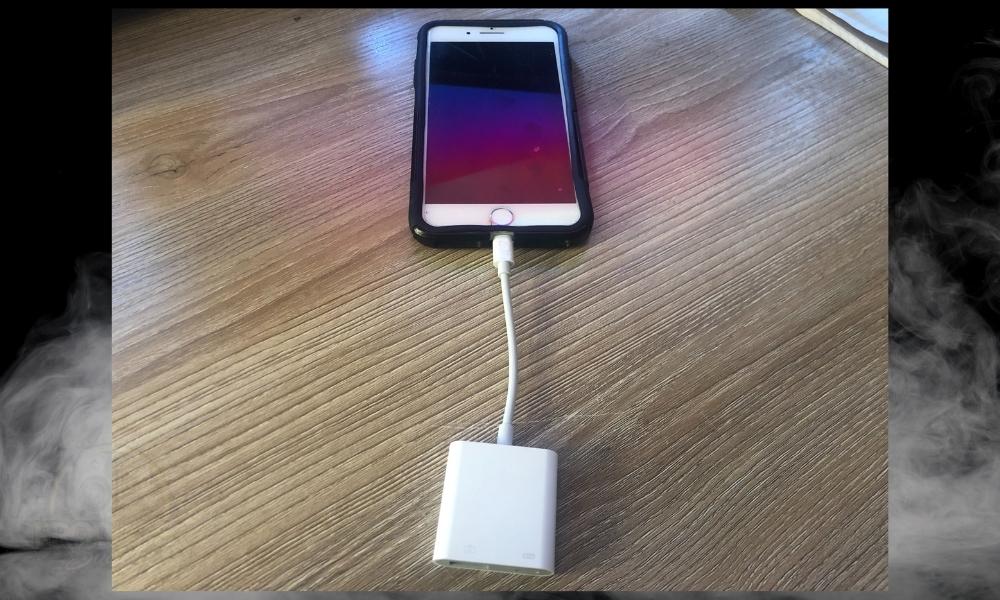
2) Connect A Power Bank or Block Charger
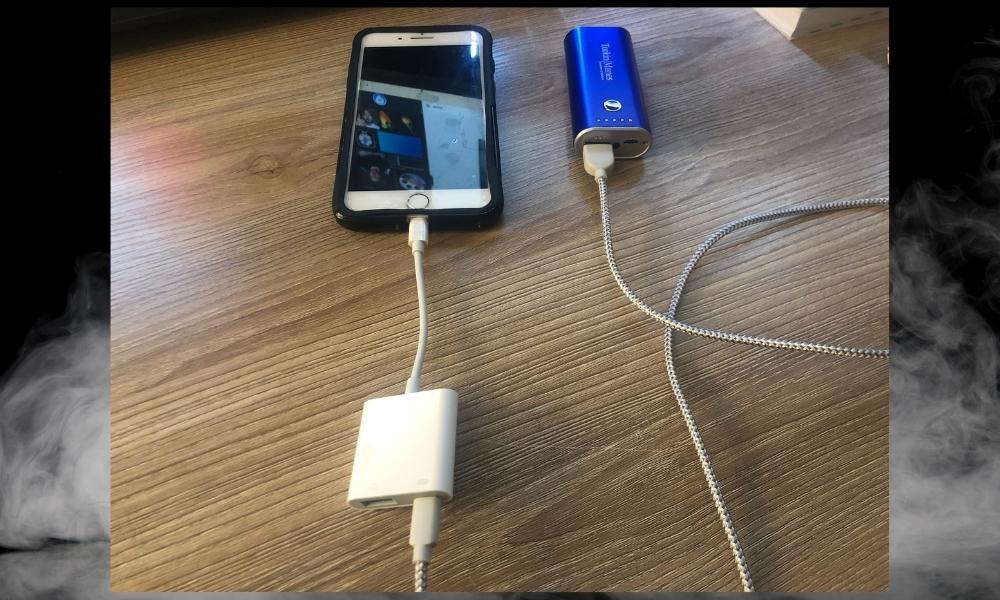
3) Connect the Scarlett 2i2 After Plugging In the Power Bank
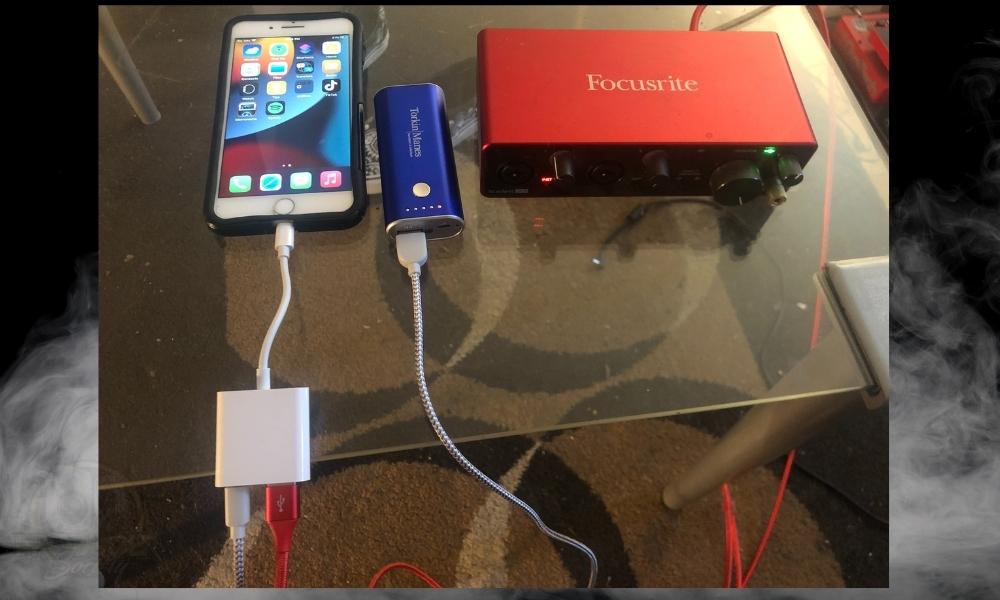
This is how you connect a microphone and a Scarlett to your mobile device and computer. It’s really not that hard, as you can see.
But you do typically need quite a bit of gear to do all of this stuff. For more explanation of how to use everything with a DAW, check out this guide.
Important Things to Note About Connecting A Mic to a Scarlett 2i2
1) Connecting A Scarlett 2i2 To Your PC Is The Same Process For Newer Mobile Devices
I can’t really speak for Android users, but there are certain iPhones and iPads, I believe the ones made before 2018, that need an external power source in order to drive the Scarlett 2i2.
I’ve explained this in a few different articles now, but what you need is what I showed you earlier: the USB multiport adapter and a power bank or block charger.
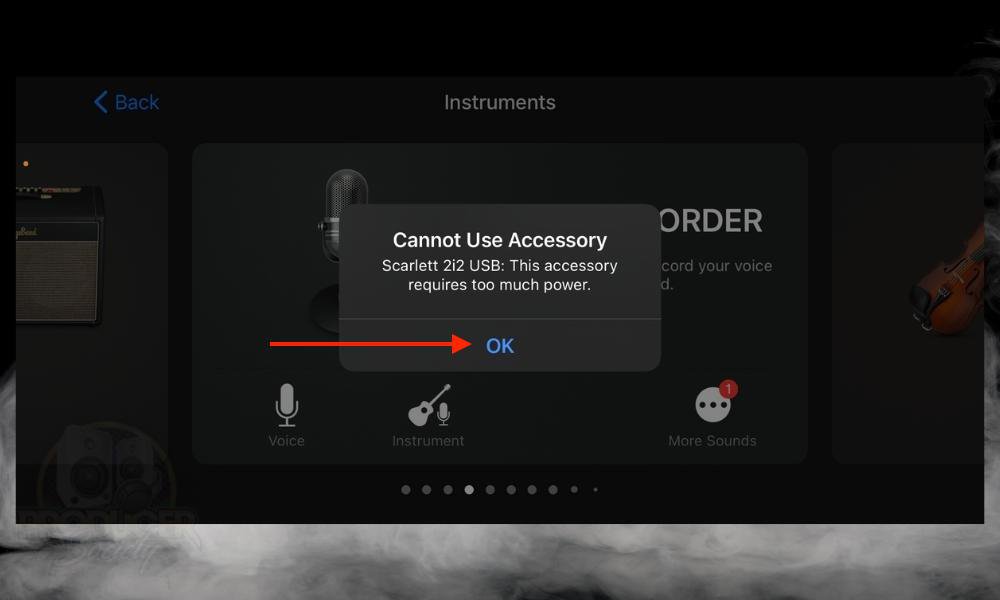
The message you can see above is what iOS gives you if you try using the Scarlett 2i2 with an older device that doesn’t have the power to drive it. For example, my iPhone 6s doesn’t have the juice to drive the Scarlett 2i2 and neither does my iPhone 7 Plus.
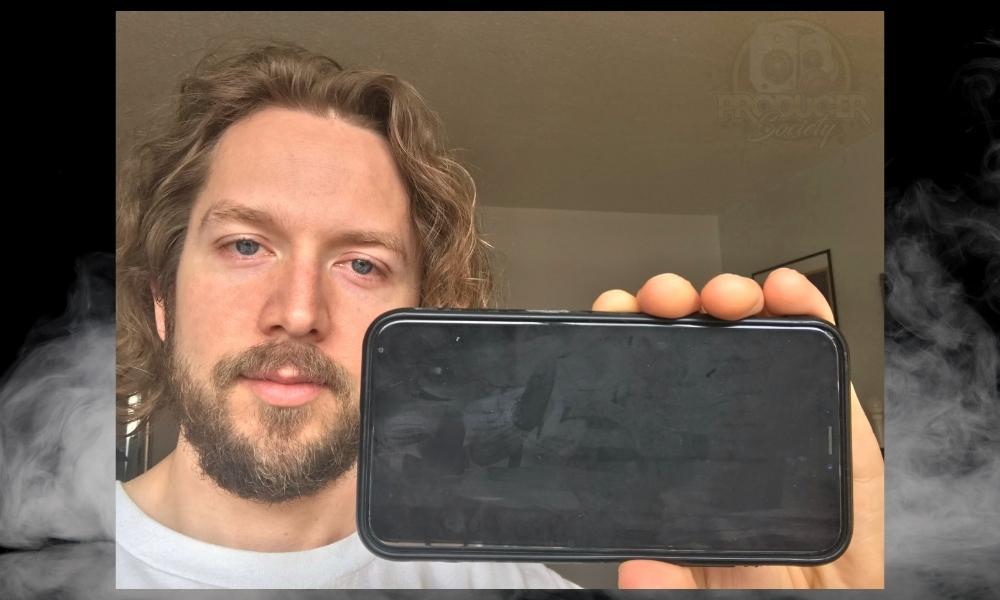
On the other hand, my iPhone X does have the capability to drive the Scarlett without an external power source. I’m not sure when Apple upgraded their phones so they could drive bus-powered devices that require more power. It could’ve started with the iPhone 8.
Either way, newer iPhones and iPads should work just fine without the power bank/charger.
Gear Mentioned
1) USB-C Cable
2) Thunderbolt 3 to USB adapter
3) Lightning to USB
4) AEA Ribbon Mic
5) Shure Dynamic SM58
6) Scarlett 2i2
7) D’Addario XLR Cable
8) USB Multiport Adapter – Camera
9) Power Bank
10) 1/4″ to Headphones adapter
11) iPhone X 64GB


 Written By :
