Panning, in layman’s terms, is the act of spreading the soundwaves across channels to create room and balance in a mix. It’s one of the integral functions of mixing that allows us to take a very average song, and make it sound great.
To be completely honest with you, it’s only recently that I started using panning in my mixes, and I’m glad I quickly caught on to it because it makes a big difference.
The Wikipedia entry for panning describes it as the distribution of a sound signal into either a new channel altogether or a “multi-channel sound field.”
This definition is definitely a bit wordy, so I like to think of it and explain it a little differently.
Assuming we’re listening to the mix through headphones or speaker monitors like the iLouds I recommend, a left speaker and a right speaker, panning is the act of moving a sound from either the left or the right speaker, or even towards the center.
By default, when we create music, all of the sounds will fall exactly in the center, which will tend to create music that is simply too busy and muddled. Panning allows us to distribute the sounds and instruments in a way that creates room and evenness or at least the appearence of it.
It’s like spreading butter on a piece of bread.
Before panning, the butter on the bread is concentrated in the center, but after panning each part accordingly, it’s spread out all over the bread in a way that’s suitable to our liking.
Probably not the best analogy out there, but it’ll have to do.
Panning, like every other aspect of mixing, is a technique where you can come up with your own way of doing it, however, there are common standards and practices one can employ which act as training wheels so to speak.
First things first: the panning knobs are right beside the VU meters on each software instrument track. You can see what they look like in the image below.
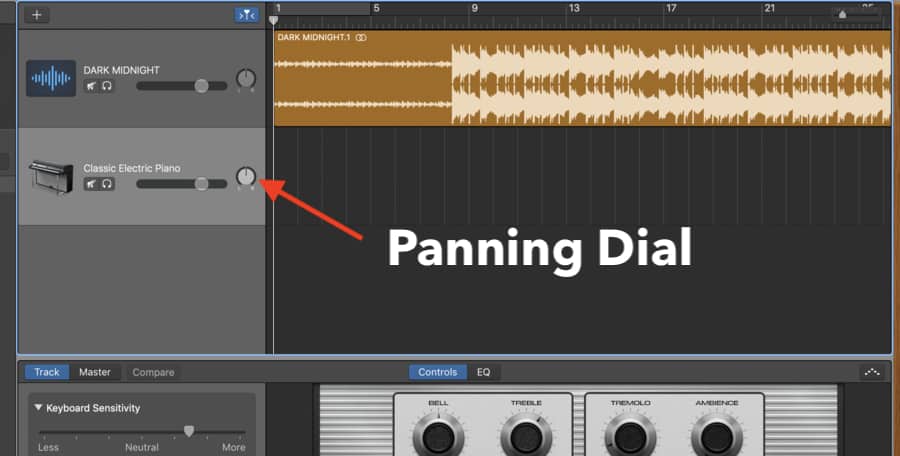
You can click on the dial with your track-pad, and while holding it down, use your other finger to spread it across the left of the track-pad to pan the track left, or right across the trackpad, to pan the signal to the right.
Moreover, you’ll also notice that there are very helpful numbers on top of the dial which allow us to dial things with precision, or perhaps match two channels automatically.
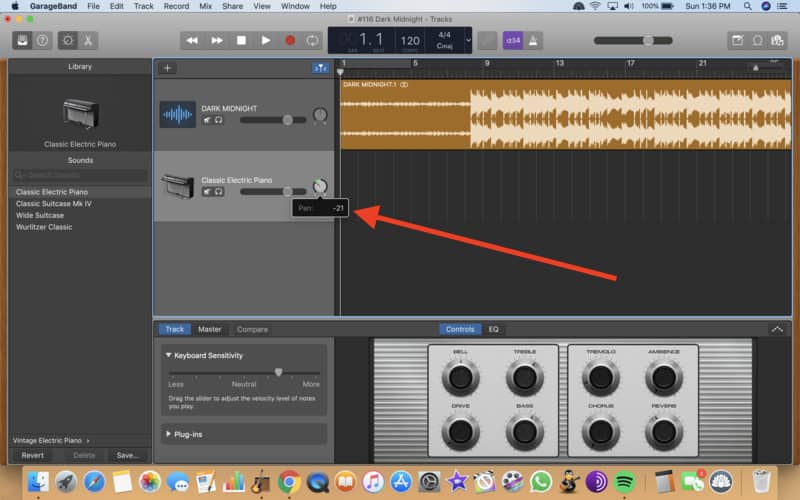
In this article, I’m going to do a couple of things: I’ll lay out a simple guideline for you to follow if you just want to pan your instruments accordingly without much thinking, but I’ll also discuss in passing some of the common tactics used in different genres, as well as outline some important points to keep in mind.
Here is a simple guide-line for you to follow:
By the way, I use the standard clock as a way of communicating what the panning looks like, but I’ve also included some very basic diagrams that I created.
Each diagram is meant to imitate the shape and control of the panning dial in Garageband.
Panning Guideline
Snare Drum:
10:00 – 2:00
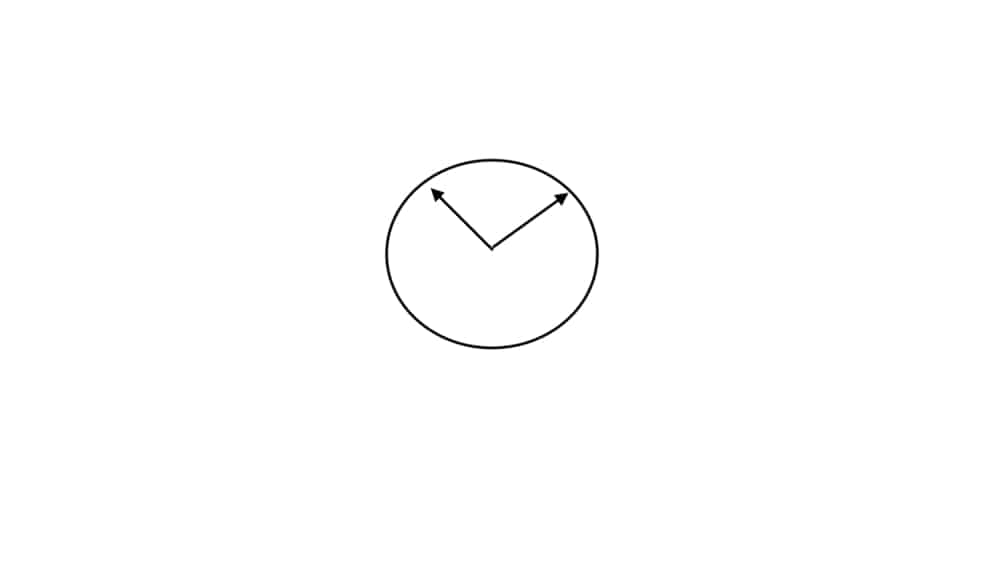
Many people like to pan the Snare to the center, like the kick, however, I prefer to pan the snare slightly to the right or the left.
I like to think of the kick drum and the snare drum on a drum set while panning the rhythm section of a song. The Kick drum is typically right in the center whereas the snare drum is a little bit to the left or the right.
Kick:
12:00
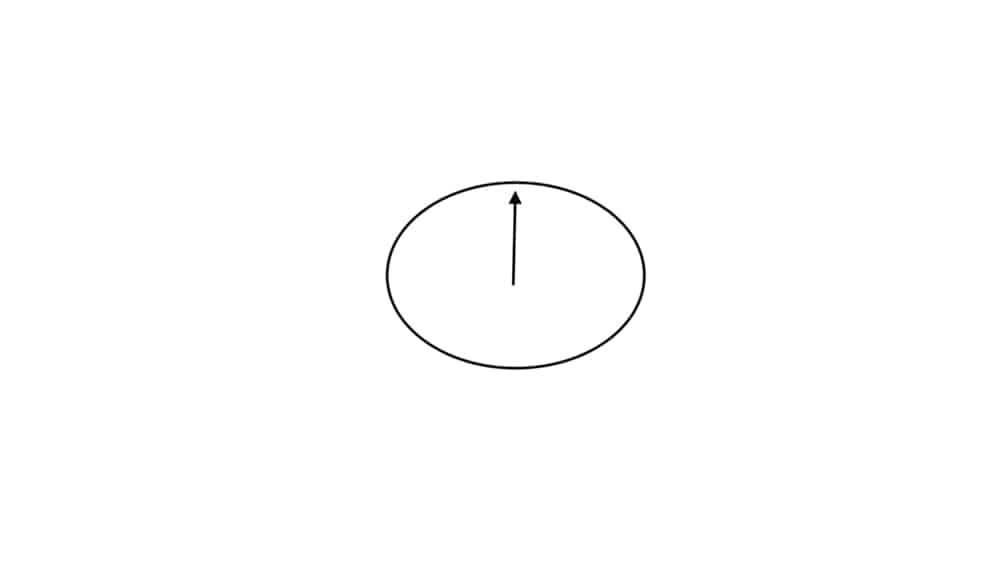
Typically, the kick is almost always at the center of a mix, especially in the case of hip-hop as well as rock music. However, there are exceptions to this rule, such as Jazz.
Hi-Hats:
11:00 and 2:00
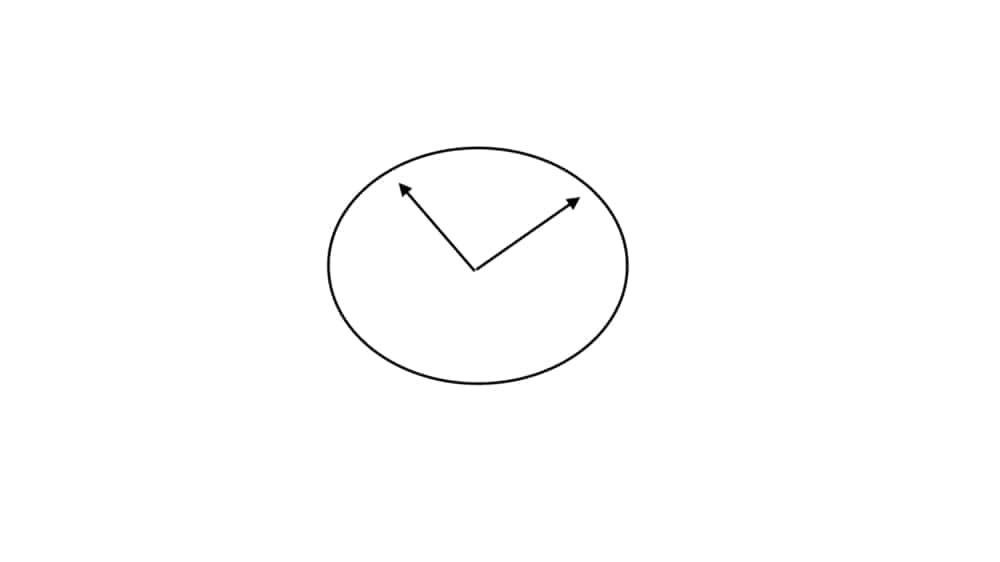
Hi-hats are often panned at 11:00 and 2:00 pm, however, how people pan the hi-hats can vary greatly. For instance, in hip-hop, especially trap music, the hi-hats sound like they’re either exactly in the center or very slightly to the left and right.
Taking the example of the song, “Maze,” from Juice WRLD, the hi-hats sound like they’re panned to the left of center just a little bit, whereas the cymbal is clearly panned to the right side.
Because of their hi-frequency, which is a frequency that doesn’t take as much room usually, there is more flexibility in terms of how they can be panned. The same thing cannot be said for Lower frequencies, on the other hand.
Toms:
9:00 and 3:00
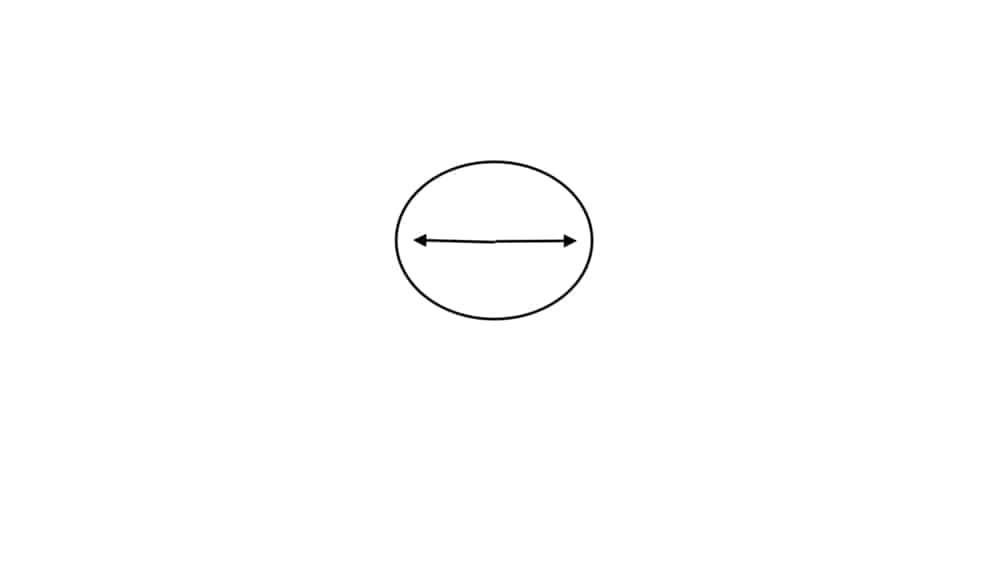
Toms are commonly spread exactly to the left and right, 9:00 pm and 3:00 pm on a clock.
For instance, I was listening to the band, The Faceless, the other day, and I noticed that the drummer’s toms were spread out from the left to the right, that way whenever he played a crazy fill in between bars, the toms were spread across the left and right headphones.
Bass:
12:00

Typically, the bass guitar is at the front and center of the mix, mostly on account of the fact that it’s a low-frequency instrument, and to put this frequency to the left or right of the stereo image would sound a bit strange.
For the most part, I would say that bass frequencies, more specifically, the bass guitar, is almost always at the front and center of the mix, especially in the case of hip-hop.
In rock music, as well, the bass guitar is almost always at the center, and I can’t think of a popular song where this isn’t the case, but I’m sure someone in the comments can point out an exception or two.
Rhythm Guitar:
10:00 and 2:00pm
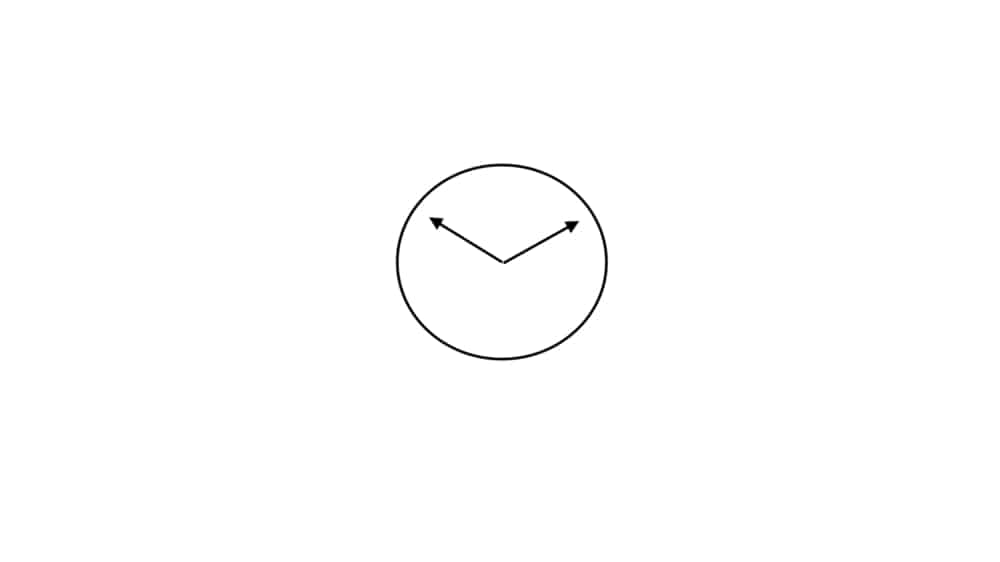
Rhythm guitars are typically panned to the left and right in a mix, especially in rock and metal music. Also, the same for pop-punk.
Thinking of some of the more classic records out there, Iron Maiden was arguably the band to popularize the harmonized guitar parts that would become extremely popular in the modern era of guitar playing, especially in the case of post-hardcore and metalcore bands from the year 2000 until about 2015.
An example of this, is the track, “Iron Maiden,” from the band of the same name. The very first part of the song features a harmonized guitar part where the two guitars are panned to the left and right.
Check it out in the video on YouTube. Just type in Iron Maiden – Iron Maiden. The riff starts off on the left headphone speaker and then the next guitar starts shortly after in the right headphone.
Some people suggest panning these guitars to the left and right almost entirely, but I choose not to, and instead, opt for panning of 10:00 and 2:00. I find this is a nice balance where the song sounds just as good in mono as well.
Acoustic Guitar:
10:00 and 2:00
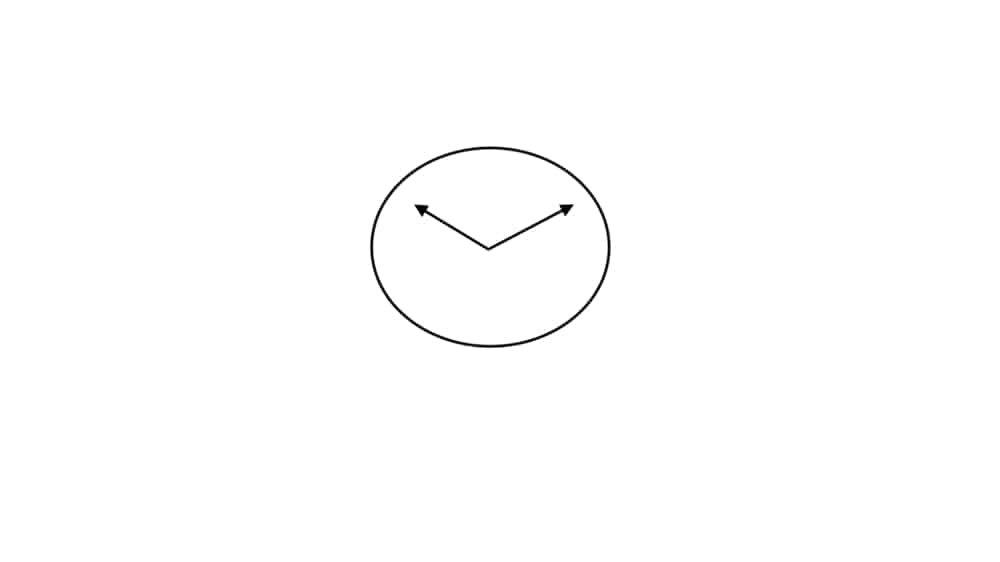
Depending on what role the acoustic guitar is playing, this instrument, if there are two of them, will be panned to the left and right just like the rhythm guitars as well (how to record acoustics in my guide).
Strings:
8:00 and 4:00

Strings are one of those complementary instruments where it probably won’t serve your mix to have it right smack dab in the center. As a general rule, we want the center of the mix to be reserved for the vocals and the low frequencies.
Due to the fact strings rarely play a fundamental role in the song, strings should be panned at about 8:00 and 4:00 to really open the track up and have a lot of space in it.
Piano:
8:00 and 4:00
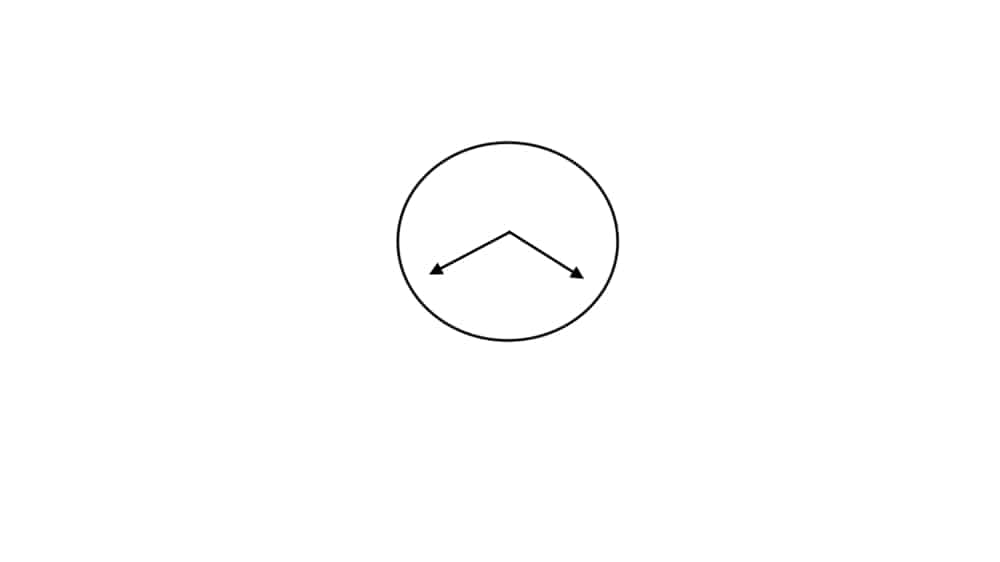
The piano is really the foundation of music production considering the MIDI keyboard is based off of it, however, how you pan it is similar to the guitar: it really depends on what purpose the piano is serving.
If it’s the primary melody in the song, it’s probably not a bad idea to pan it slightly-off-right to the center, but if it’s just serving as a complementary instrument, then it’s a good practice to pan the instrument with the suggestions I’ve mentioned above.
Background Vocals:
10:00 and 2:00

For me, If there are two background vocal tracks, I’ll pan them to about 10:00 and 2:00 on the dial, that way they’re fairly close in terms of the stereo image to the primary vocal track, but without being in the exact center.
Vocals:
12:00
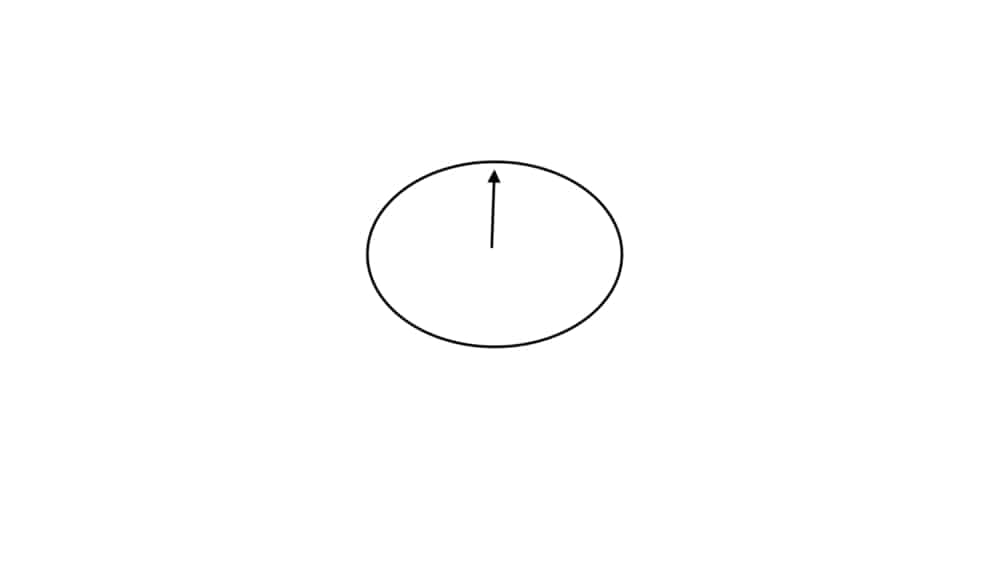
As I’ve mentioned in passing, the vocals should almost always be at the center of the mix, especially in the case of popular music, but as I’ve said many other times, it really depends on the genre of music and what purpose they’re serving.
There might be some genres or experimental music out there where the man vocals are not exactly in the center.
I hope this brief outline has helped you out. Obviously, these are just basic guidelines and common practices. You can experiment and figure out your own day of doing things.
Let’s move on to some helpful tips as well as some other things to keep in mind when panning.
Tips and Things to Consider
1) Check the mix in mono.
Frankly, you should be mixing in mono anyway at least 50% of the time, briefly switching from mono to stereo to get a good and clear picture of how your mixes will sound across a variety of different sound systems.
As I said in my article all about mixing in mono, the mono channel just means that we’re taking our mix/song and playing it back through a single channel, rather than spread out across two.
This has the effect of illuminating any potential issues we have in the mix. For instance, when I was mixing a song for a client recently, I noticed that when I switched the song into mono, the rhythm guitars all but disappeared on account of the way that I panned them.
I believe this is called, “phase cancelation,” which means that because the two sounds are so similar to each other, they end up canceling each other out. Checking your mixes in mono will really help show you what’s wrong with the panning of your track.
Moreover, it has the added benefit of increasing the quality of your mix when you finally do switch back to stereo at the end.
2) Use Automation for Panning.
This is a really dope way of getting a high-quality mix, on account of the fact that you can adjust the dynamics and feel of a track by automating certain panning set-ups for certain parts of the song.
For instance, like I showed in my automation guide, if you’ve created a nice piano melody at the beginning which serves as the introduction to your track, you could automate the panning toward the next section of the song that way the piano doesn’t continue to sit right in the center, effectively creating more space in the mix and a more dynamic and professional sounding track.
Here’s how to use panning automation in your mixes:
1) On each track, you’ll notice a drop-down menu where it says the word, “Volume.”

2) From here, clip on the drop-down menu, scroll down and then choose “Pan” as your option, rather than volume, which is the default.
3) Once you’ve got it set up, you can use the Automation Lines and the points to drag the line either up or down according to the way you want to pan it.
If you pull the line down, it’ll pan it to the right.

If you push the line to the top, it’ll pan to the left.
3) Try to avoid accumulating instruments in a few different spots
By this, I mean, don’t have all of your instruments in the exact same position in the mix, for instance, all of your high frequency ranges exactly on the same position on the right side, and then the mid-range frequencies on the left side all together, and then all the lower range frequencies all in the center.
You can avoid bunching everything up, and instead, spread instruments evenly to create a spacious and more realistic vibe in your mixes.
Due to the fact most of us are monitoring our mixes with either studio headphones like Beyerdynamic’s DT 990 Pros or left and right speaker monitors, we have the tendency to bunch things up on either the left or right side, however, it’s much better to try and spread things out more evenly.
YouTube Video Tutorial
Check out the video below if you don’t want to read.
Conclusion
So that’s all for panning. Like most aspects of mixing, a lot of it comes down to personal preferences, however, we all need to start somewhere, and I hope this was helpful to you.

 Written By :