As an Amazon Associate, I earn from qualifying purchases. Additionally, I earn a commission through each purchase made on Amazon. Each link in this article will take you to Amazon unless stated otherwise.
If you’re new to GarageBand iOS, understand that you can start immediately, without spending any money or buying more gear. However, a time will come when you want to expand what you can do with it. Here’s my list.
Essential Adapters That You’ll Definitely Need
Before even buying a single thing, you’re going to need adapters. And that is a certain fact.
If you don’t already have adapters, don’t worry, because I’m going to list all the adapters I have to use with my iPhone/iPad. These will be for connecting various music production equipment to GarageBand iOS.
1) USB Adapters
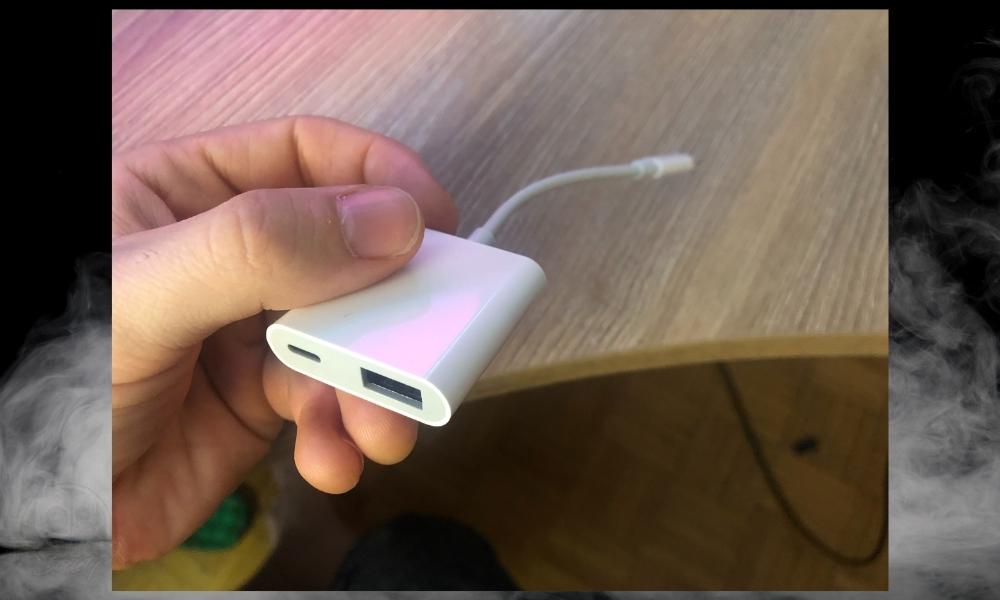
For starters, you’re going to need a standard USB Multiport Adapter.
This one is good because it has the additional port for:
1) adding more devices or
2) driving an audio interface in case your phone can’t do it.
The following list is the type of port/adapter you’ll need for your specific device:
iPhones – Lightning
iPad 1 to 4th Generation – 30-Pin Dock Connectors
iPad 5th Generation and Onward (Starting in 2017) – Lightning
iPad Pros (Before 2018) – Lightning
iPads Pros (After 2018) – USB-C
Most of us are going to need either a Lightning Multiport Adapter or a USB-C multiport adapter.
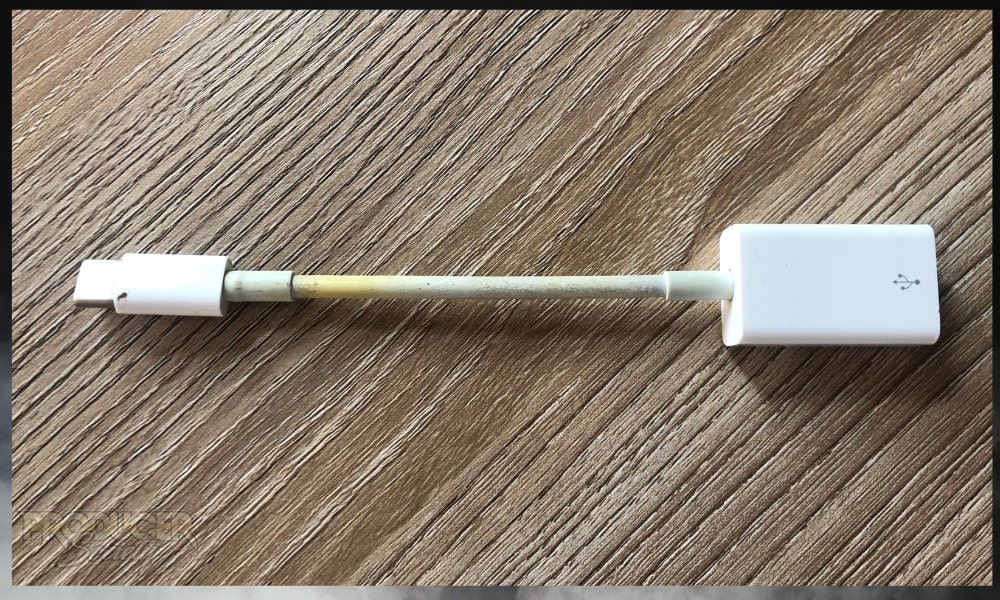
2) USB-C Adapter and Hub
For the latest iPad models with USB-C, a USB-C hub is incredibly useful. It lets you hook up several devices at once, from MIDI keyboards to external displays, streamlining your workflow.
More importantly, it allows you to connect an audio interface, a midi keyboard, AND headphones all at the same time. As you know, iPad ports are limited.
This is absolutely crucial if you want to connect more than one device at a time.
I’ve had good experiences with j5 Create. They have a small hub on Amazon that you can try. I’m using the really big one for my desktop setup and I have no complaints.
I’m in the market for a multiport adapter that also acts as a stand. But I’ve been afraid to take a chance on the BYEASY one pictured above that I’ve had my eye on for months.
Maybe you want to get it and let me know how it goes.
3) UGREEN TRS To 1/4″ Adapter
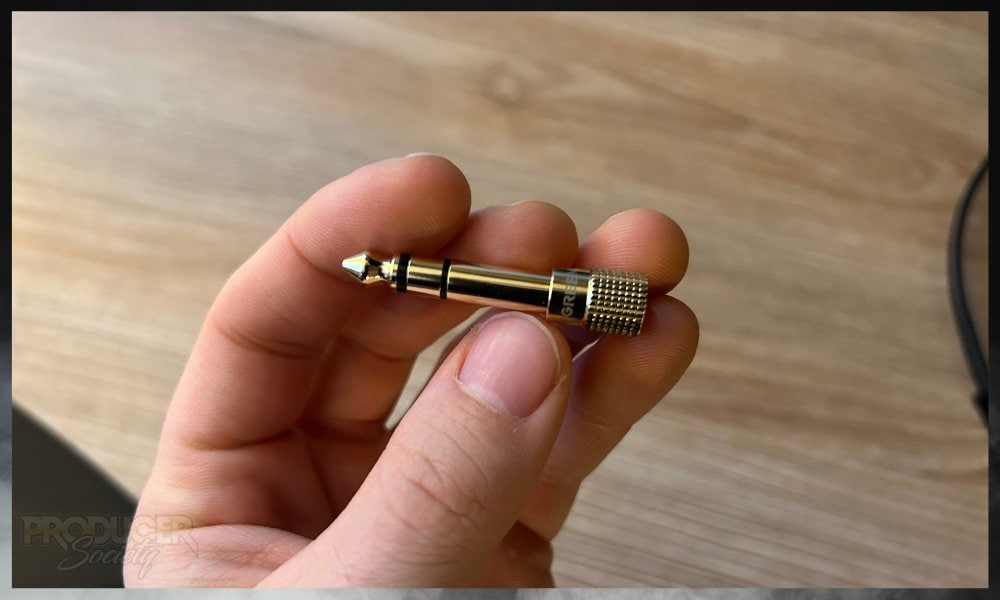
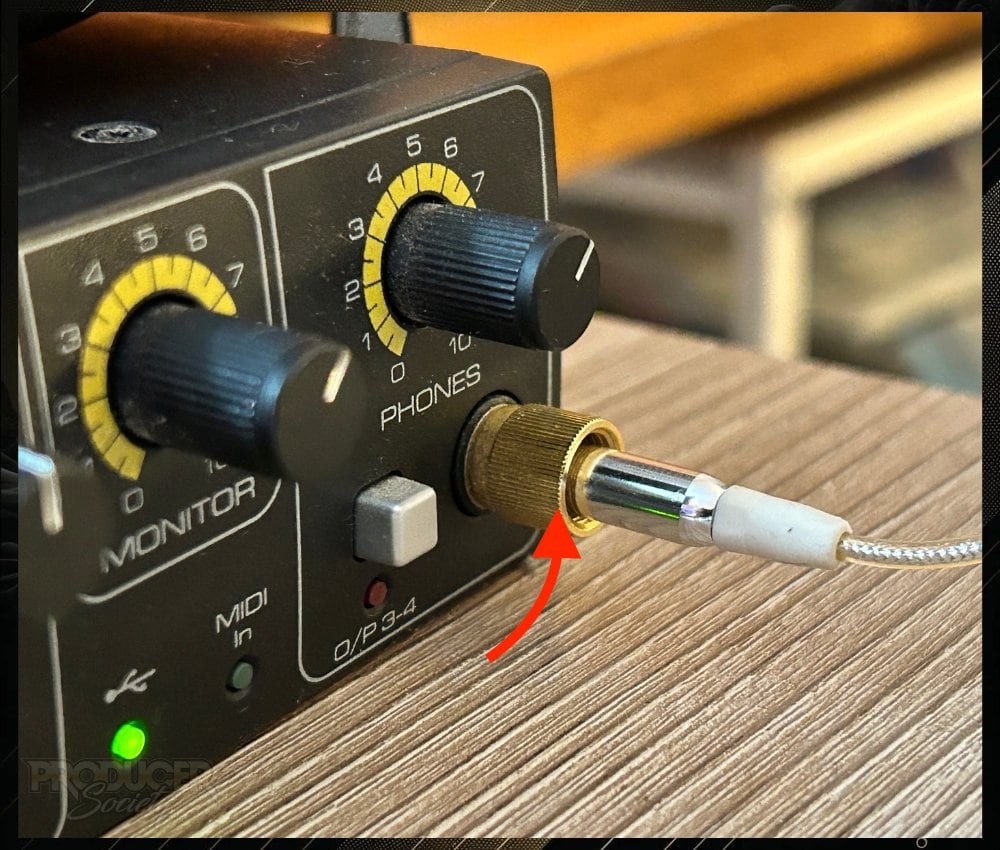
If I were you, I would get the pack of UGREEN adapters because they’re high quality and you can get several of them – which you will need. Someone will either steal them from you, or you’ll lose them.
Additional Adapters for More Functions
1) Lightning to 3.5mm Headphone Jack Adapter

The headphone dongles are really annoying and I wish we didn’t have to use them, but it is what it is.
This poses a problem for newer iPads and iPhones because you can’t connect your charger or your audio interface and headphones at the same time!
This is a huge problem, and can only be solved by a USB-C hub/adapter like I mentioned earlier.
2) Lightning to USB Cable

It’s perfect for a stable connection to MIDI keyboards and audio interfaces.
Check Compatibility: Ensure the adapter matches your iOS device’s port type.
Power Considerations: Some devices may require external power when connected to your iOS device. Plan accordingly.
The Main Gear You’ll Probably Need to Get
Now that you’ve got all the boring stuff out of the way, you can get into the gear that’s actually fun and looks cool. We’ll start with the first thing that I ever got: a MIDI Keyboard.
1) MIDI Keyboard Controller – M-Audio Oxygen Pro 25

They make everything a lot more accessible. The more popular option is the AKAI Mpk Mini 25-Key, however, I would say the M-Audio Oxygen Pro 25 is a much better MIDI keyboard.
If I had to do it all over again, I would’ve chosen the M-Audio Oxygen Pro over the AKAI MPK Mini.
2) Studio Headphones – ATH-M30x

I’ve had the M30x for years and they serve their purpose well. If you wanted a better version of these, I would recommend the ATH-M50xBT because they can be Bluetooth or use a wired connection if you’d like as I explained here.
In essence, you get the best of both worlds, including a great pair of casual listening headphones but also a set of monitors that can be used in the studio.
3) Audio Interface – Focusrite Scarlett 2i2
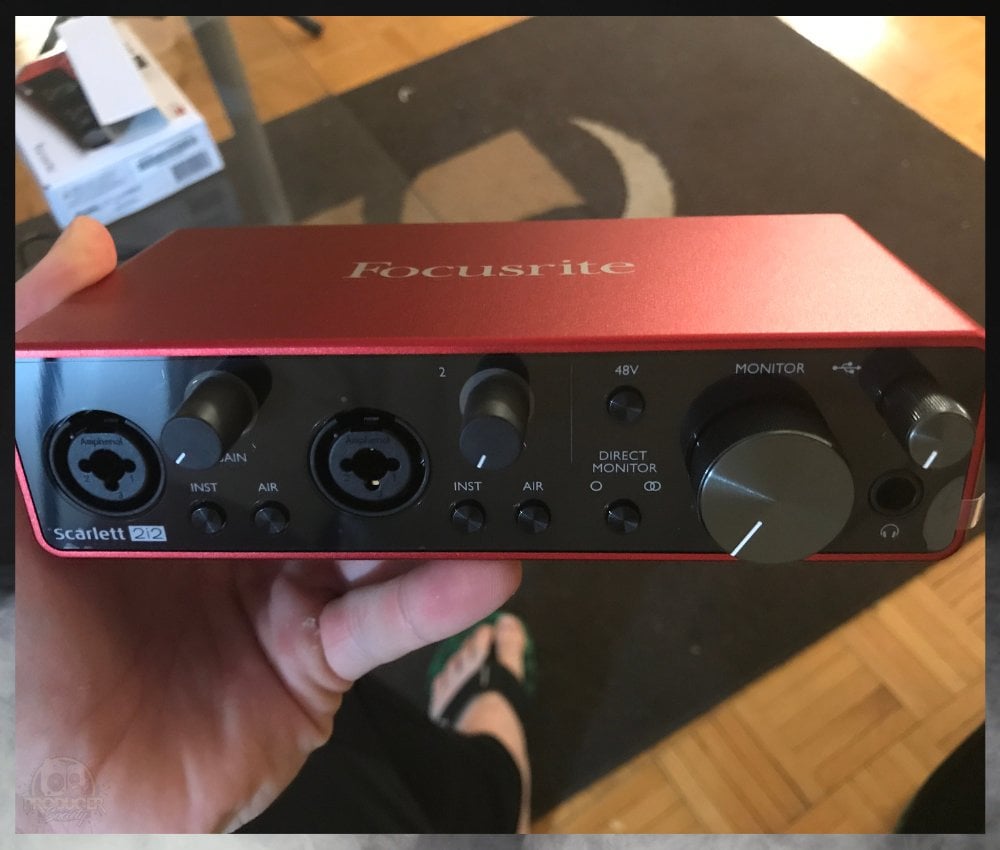
The Scarlett series is probably the safest option for someone looking to get into music production and home recording. I’ve heard good things about the M-Audio Air 192×8, however.
4) Microphone – Shure SM58

The SM58 is probably the most reliable microphone that you can use, for both studio recording and performances. It can do both.
5) Pop Filter

What does that mean? It means that if you make “S,” “T,” or “P” sounds into the microphone, they won’t sound extremely loud and annoying to the listener. A pop filter is an essential tool. This one has served me well.
6) iPad Case ZUGU iPad Pro 11

Not only does it protect your iPad in case you drop it, but it also acts as a stand and it holds your Apple Pencil while not thwarting its ability to charge from the side of your iPad.
The ZUGU Case gets a 10/10 from me. One of the best purchases I’ve ever made.
7) Mic Stand – K&M
In case you’ve never heard of them, K&M makes some of the best stands. You have to pay a premium for them, but I think it’s worth it. Messing around with cheap stands is a nightmare.
8) Magic Keyboard

This wound up being the perfect decision. It worked awesome for my setup. I needed the ability to write as if I was using a laptop, but I also wanted a really solid case to protect my device. It worked out ideally in the end.
Gear For When You Start To Get More Serious
As you grow, adding tools that offer more control and flexibility will help you a lot.
1) Studio Monitors

I got the Micro Monitors in 2020 and I never looked back. They’re solid. And they have Bluetooth connectivity/wired as well.
2) MIDI Drum Pad Controller
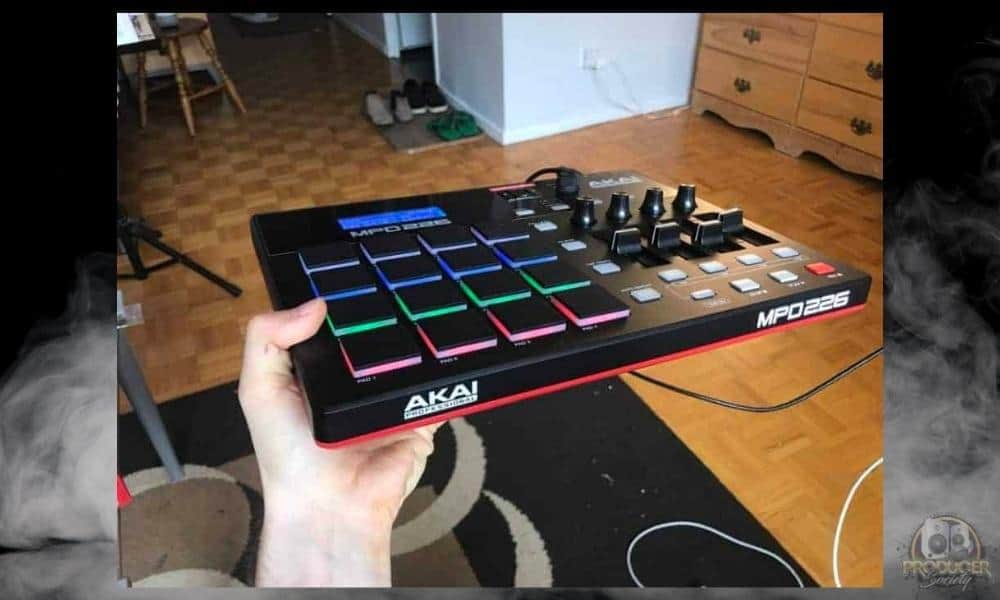
Personally, I wish I would’ve just gotten the M-Audio Oxygen Pro 25 right off the bat instead of the AKAI MPK Mini and the MPD 226.
But there are people who want a dedicated interface for drums. If you’re one of those people, the MPD226 is great.
3) External Solid State Drive / Hard Drive
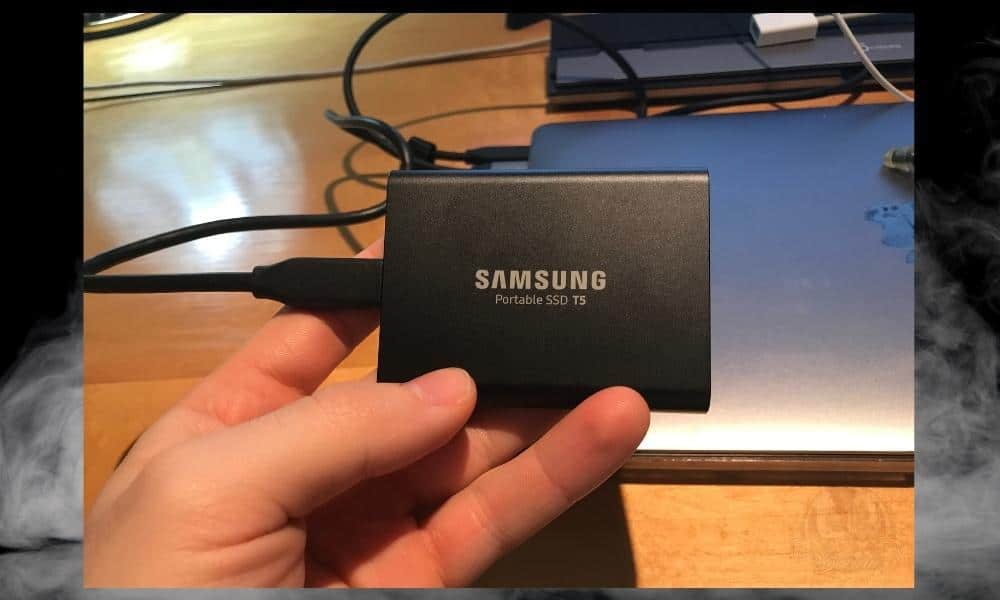
I’ve been using this Solid State Drive for software as well as file storage for over a year now. It works perfectly. I imagine that the next one I get, however, will be at least 5TB.
4) Headphone Amplifier & Splitter
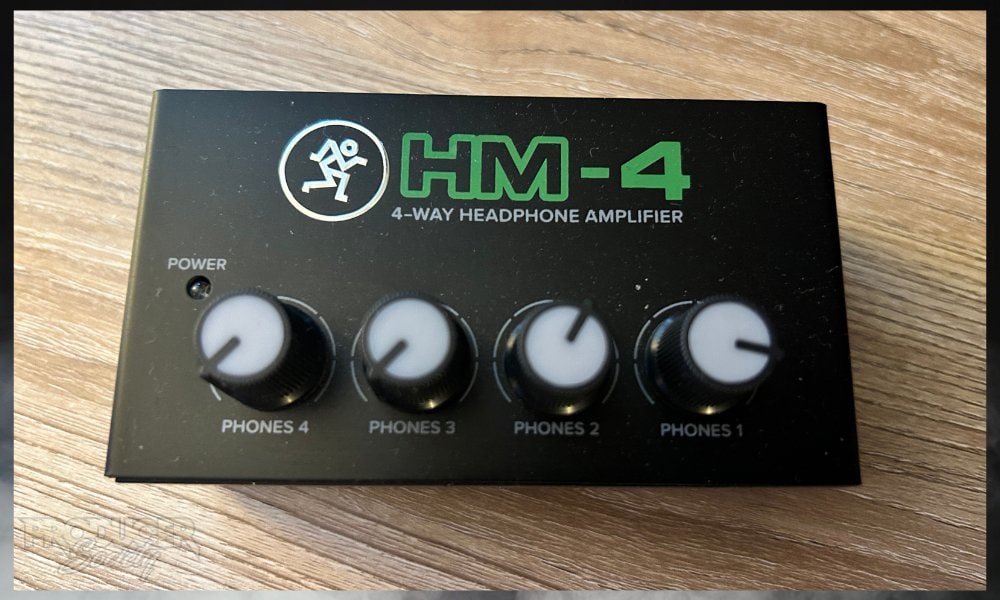
The HM-4 is great value, but it’s not perfect. The knobs on it are low-quality and it can introduce a bit of hissing into your sound past the 50% to 75% mark. However, it’s working fine for me right now.
5) Headphones Extension Cable
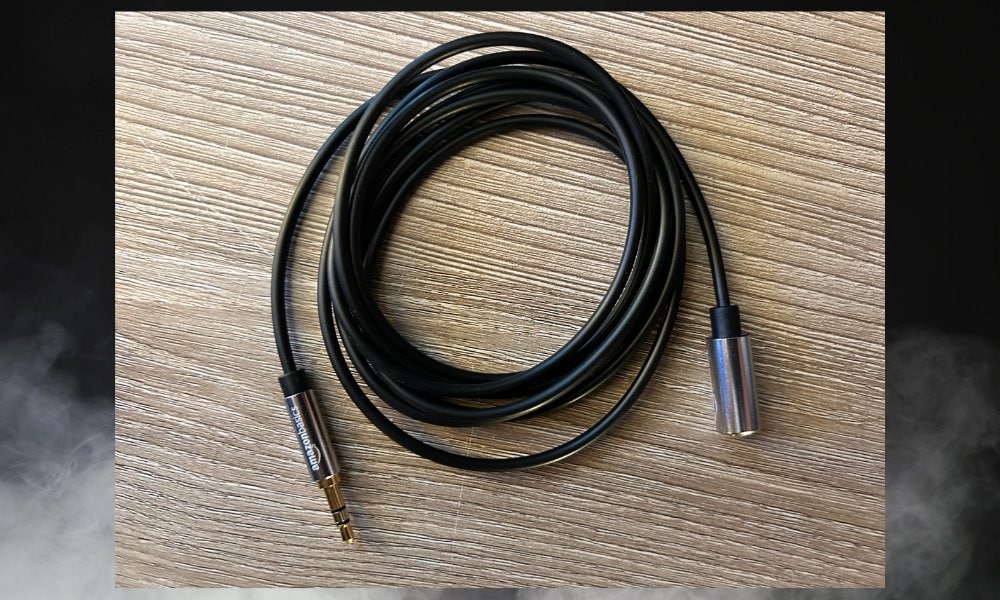
Amazon Basics stuff is usually pretty good. I haven’t had any problems with them yet.
For Those Who Want to Get The Most Out of It
Advanced users can explore sophisticated gear for nuanced music production.
1) An Advanced MIDI Controller – M-Audio Hammer 88 Pro
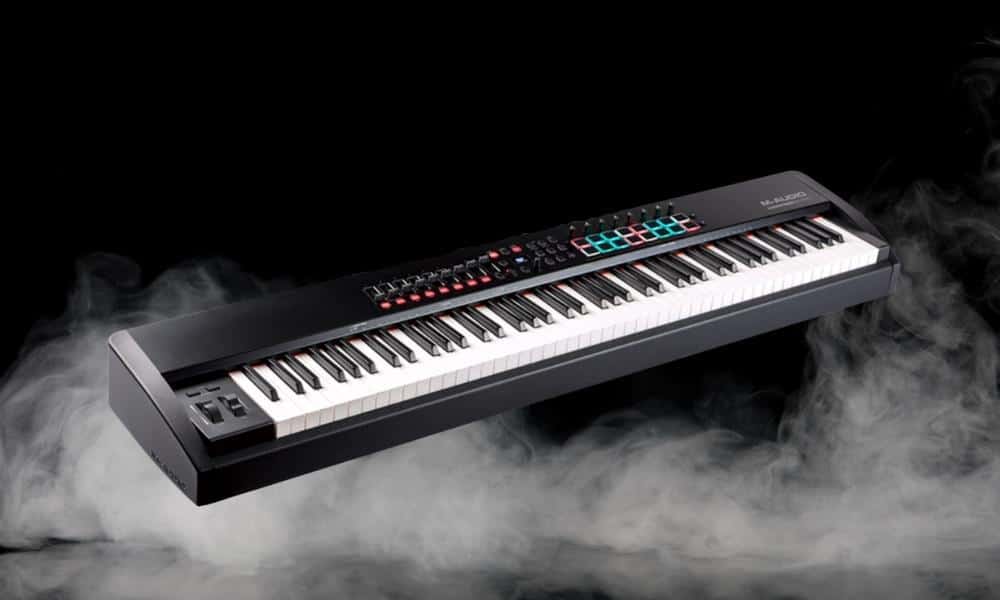
The Hammer 88-Pro, which is pictured above, is more like a piano. It has all the pads and faders you would need and 88 keys. I don’t personally own this, but if I wanted a full MIDI keyboard, I would get this one.
2) Premium Microphone – Rode NT1-A or Electro Voice RE20
Upgrade to a Rode NT1-A for a really solid condenser microphone. If you’re looking for a dynamic microphone, I’ve heard the Electro Voice RE20 is awesome.
I haven’t tried either of these microphones, but I’ve heard great things from people much more knowledgable than me.
3) Audio Interface with More Inputs & Better Sound – SSL 12
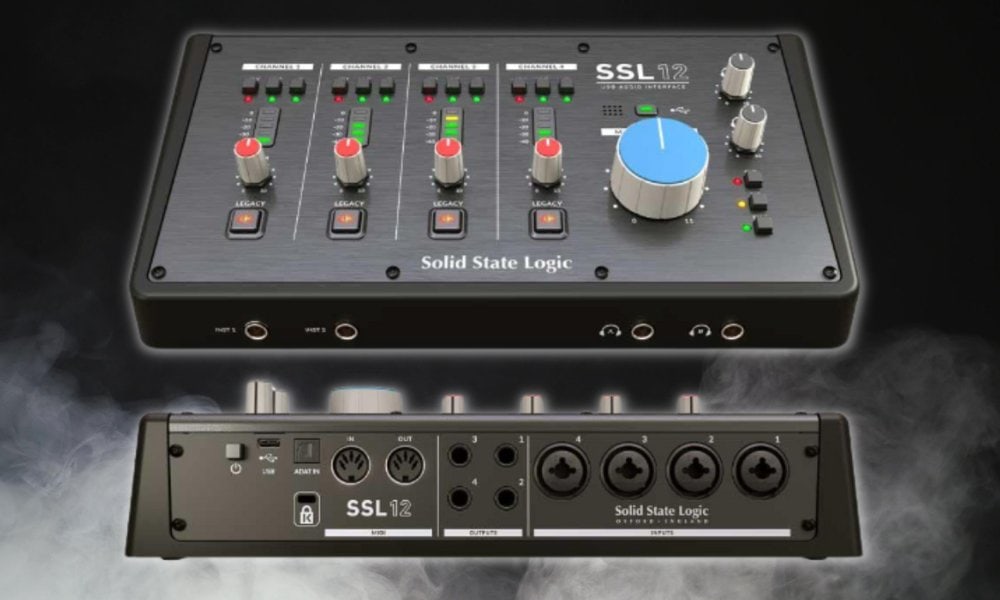
This is the next audio interface Il’l get. It has MIDI connectivity, multiple inputs and outputs, and it looks like a beast all around.
Professionals have told me that you’re much better off to drop big money on something like this than an expensive guitar.
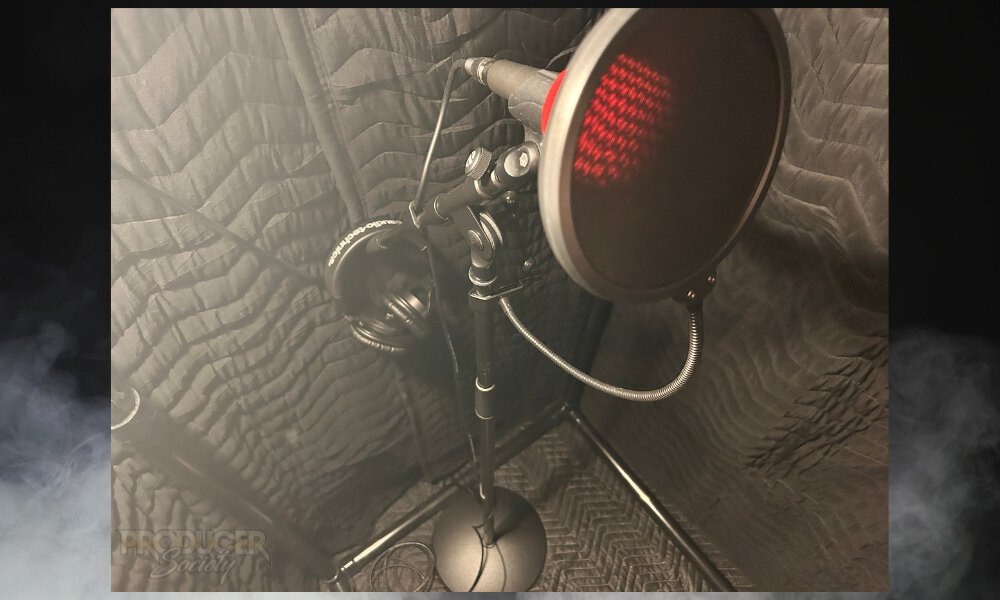
4) Acoustic Treatment & Vocal Recording Booth
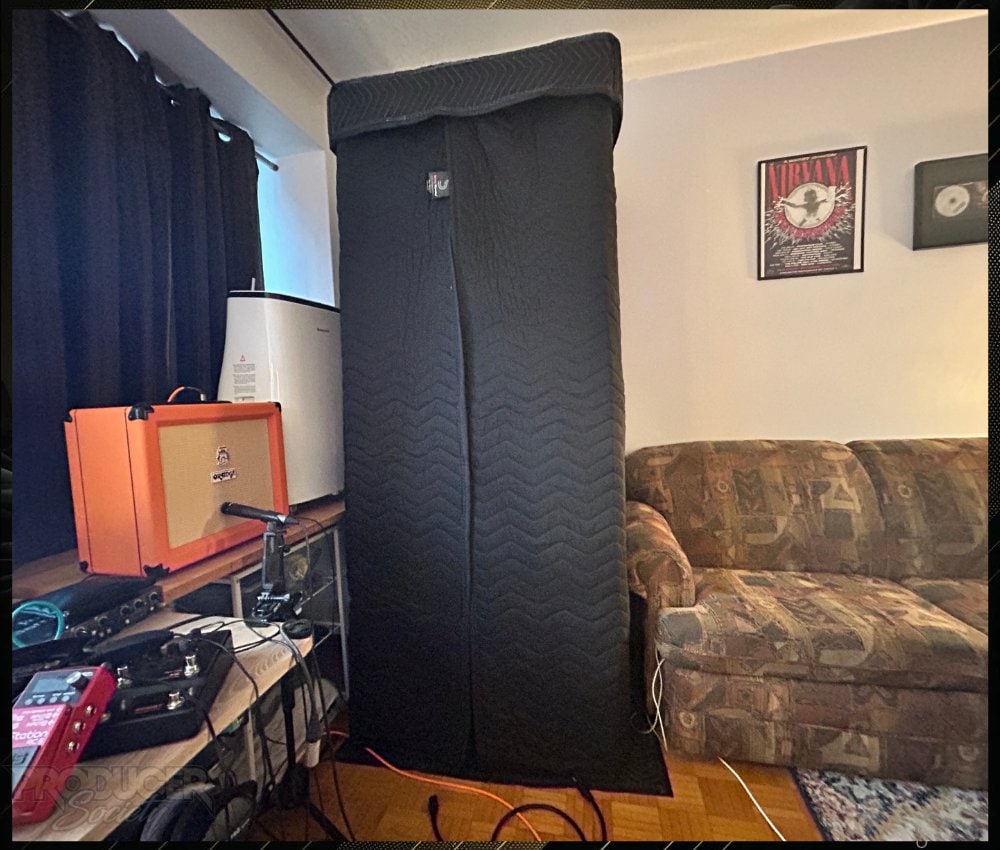
The thing about it, though, is that it actually works well. It’s not an isolation booth, but it will stop sound from reverberating when you record vocals.
The effect is a much better vocal recording. Maybe you can find something a bit better for the price.

5) The iPad/iPhone’s Audio Recorder

Go to your iPhone’s Settings and then Control Center to choose “Voice Memos” to bring it into the iPhone’s primary functions. You can then use the Voice Memo on the fly.
Using the iPad or iPhone’s Voice Memos will work really well for this.
6) 3rd Party Loops and Sample Libraries
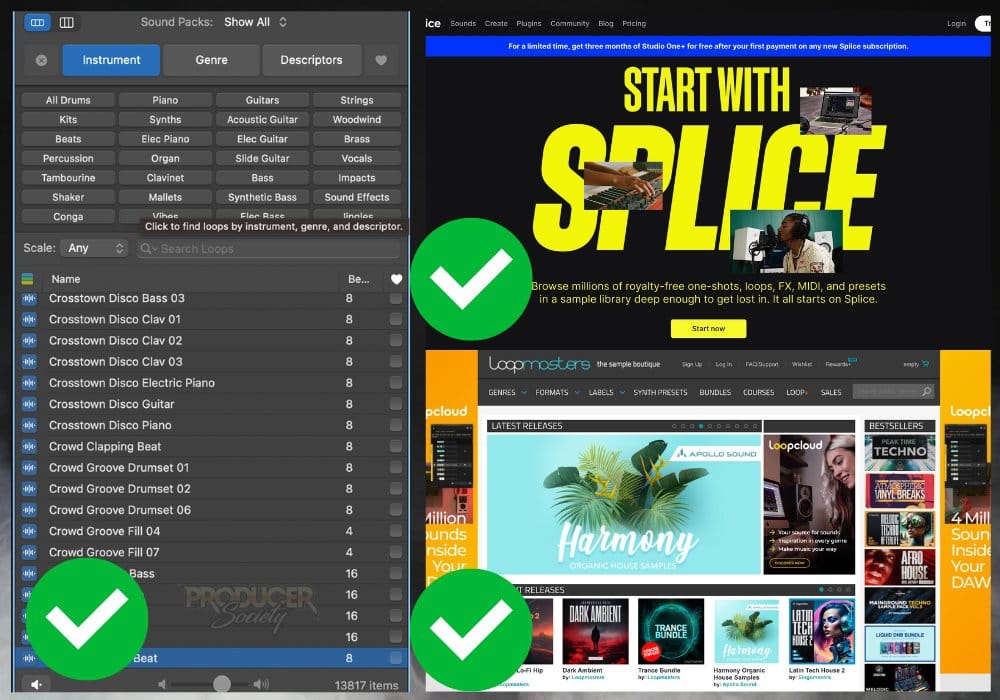
Expanding your toolkit with a subscription to Splice Sounds provides access to extensive samples. Additionally, exploring third-party AUv3 plugins broadens your possibilities.
Splice is great, however, I found it to be very expensive. It cost me around CA$45 per month for a subscription. You could try Loopmasters, Cymatics.FM, and Unison instead.
Comments, questions, or concerns? Let me know what you think in the comments. I’m also all ears for product recommendations that you wished you would’ve received when you were starting out.
Other Articles You May Be Interested In
- Understanding GarageBand iOS: An Overview for Beginners
- How to Download the Available Soundpacks for GarageBand (iPhone/iPad)
- How to Navigate Apple Loops in GarageBand iOS (Filter By)
- How to Make a Song in Garageband iOS (The Quick & Dirty Way)


 Written By :