For the most part, it’s almost entirely plug-and-play so it shouldn’t be much of a problem.
To connect an AKAI MPK Mini to GarageBand, all you really need is the keyboard, itself, your device, the USB 2.0 cable that the MPK comes with, as well as a USB-C to USB, and a USB/Camera Adapter, depending on whether you’re using a MacBook Pro, iPad, or iPhone, respectively.
How To Set Up The AKAI MPK Mini With GarageBand (macOS)
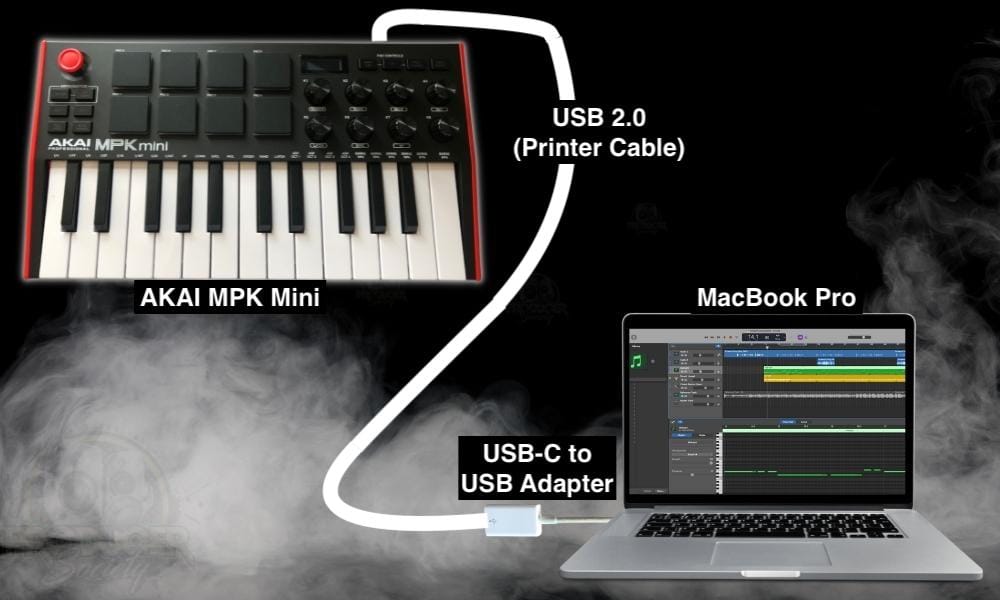
1) Connect the USB-C Adapter to Your MacBook
This is the adapter you need to get on Amazon and it’ll do just fine until you need to get a multiport adapter someday. Connecting to your macOS device is self-explanatory, so no issues there, however, what I will say about this is that this kind of adapter probably won’t do you justice for that long.
The reason is that as your needs expand, you’re going to need more ports to accommodate all of the keyboards, drum pads, audio interfaces, and other tools that you need to use.
You may even find yourself wanting to use a USB microphone which isn’t a bad idea, considering they sound good enough to record and they’re inexpensive.
When that day comes, I recommend getting an adapter like this one on Thomann. It’s expensive, yeah, but you won’t have to worry about ports ever again.
2) Connect the USB 2.0 Cable from the Adapter to the MPK Mini
Run the USB 2.0 (they’re often called printer cables) from the adapter to the AKAI MPK Mini, and you’ll notice that the AKAI MPK Mini powers up almost immediately. The keyboard is bus-powered, so it’s getting all of its energy from the MacBook.
3) Open GarageBand and It Will Recognize the Keyboard
The moment you connect the AKAI MPK Mini to your MacBook or macOS device, GarageBand will understand and recognize it, and you’ll be able to use it without any other issues. The video down below will show you how to connect pretty much any MIDI device.
How to Set Up the AKAI MPK Mini With GarageBand (iOS)
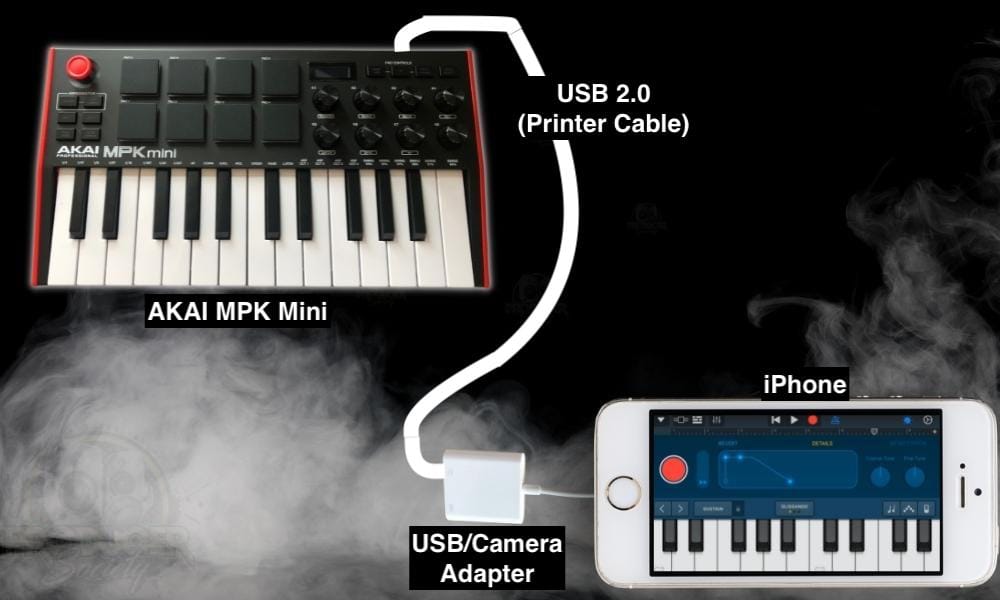
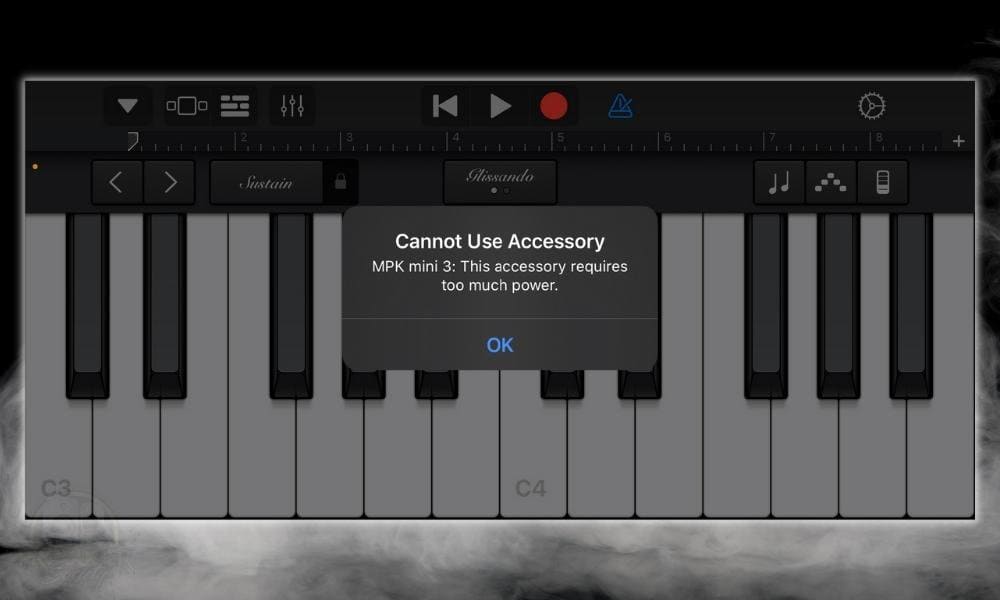
This one’s a little weirder for reasons that I haven’t quite figured out yet. When I try and use my regular thunderbolt to USB adapter to connect the AKAI MPK Mini, it doesn’t work, and it says that the AKAI MPK Mini requires too much power to function properly.
For whatever reason, if you use the USB/Camera Adapter, as they’re called on Amazon, you won’t run into this problem. Here’s what I’m talking about:
1) Connect the USB Multiport (Camera) Adapter to Your iPhone
All of this, again, is pretty self-explanatory. But something that’s important to mention at this point is that if you’re using an older iPhone, you may not have the power to drive the AKAI MPK Mini.
I’ve run into this problem before which I explained in this article, but the long and short of it is that you’ll need an external power source if this is the case.
The USB/Camera adapter will provide that option because you’ll have the choice to connect the iPhone to an external power bank, or a block charger on the power outlet if you wanted to.
However, the thing that’s confusing about it is that the USB/Camera adapter works without a power source with my iPhone X, but the regular adapter doesn’t. It’s weird and I don’t understand why, but I digress. Just get the USB/Camera adapter and you’ll be Gucci.
2) Run the USB 2.0 Cable from the Adapter to the AKAI MPK Mini
Run the cable from the adapter to your AKAI MPK Mini as you normally would with any other device.
3) Turn on GarageBand iOS
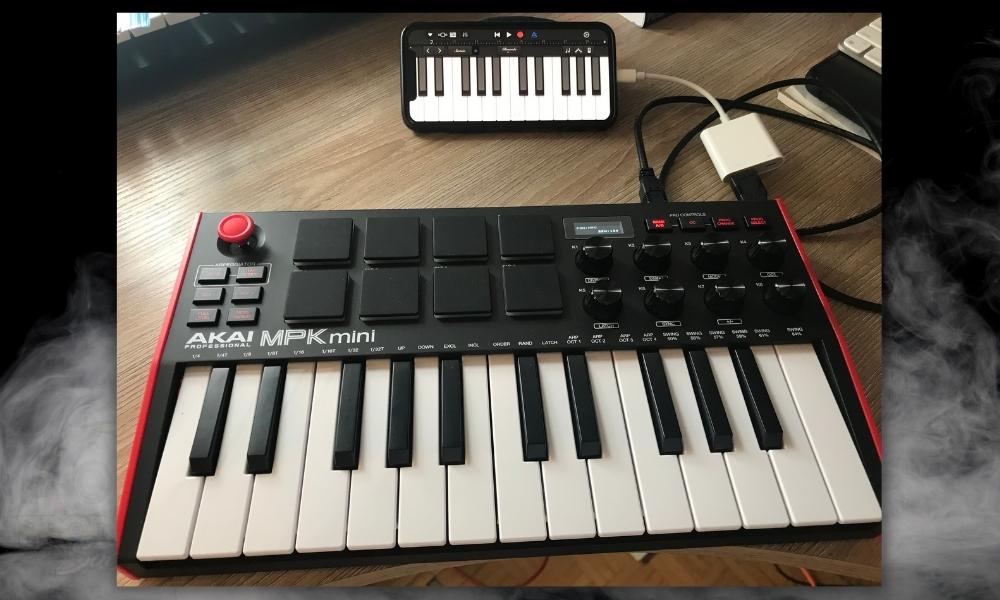
It doesn’t matter if GarageBand iOS is already turned on or not. The device will immediately recognize the AKAI MPK in and you’ll be good to go. Using the AKAI MPK Mini with the iPhone is not my favourite set-up, by far, but for some people, this will do the trick.
It’ll teach you the names of the keys, how to use them, the basics of music theory, and pretty much every other skill that’ll give you better creative control for making music regardless of which DAW or device you’re using.
How to Set Up the AKAI MPK Mini With GarageBand (iPadOS)
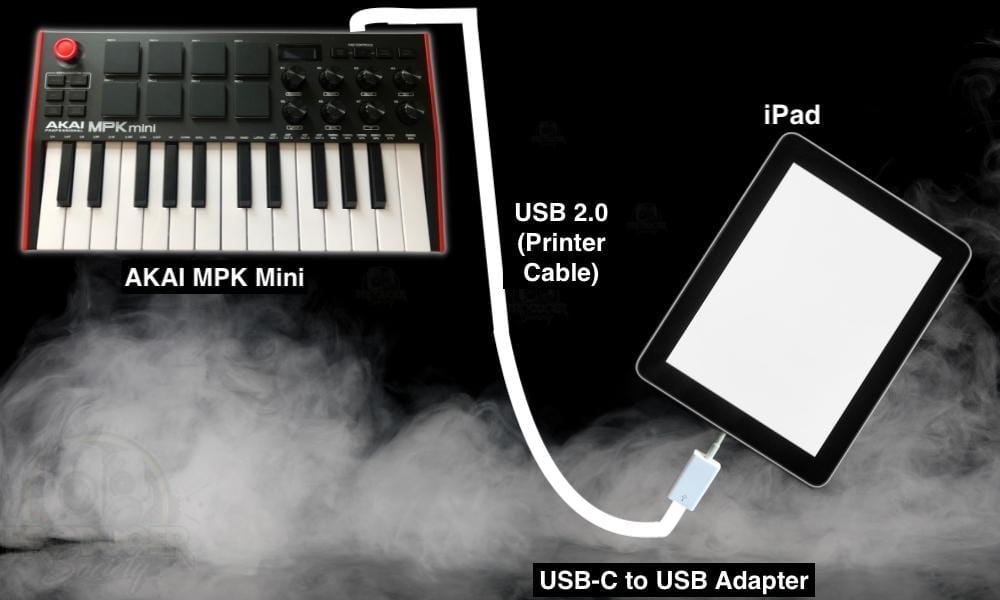
Because the iPad Pro and the MacBook Pro use the same kind of port, the USB-C, and the very same adapter will work with both. The AKAI MPK Mini with the iPad Pro 11″ is a great set-up for portable music production in my opinion, because this rig can fit in a regular backup, or even a small satchel if you have one.
1) Connect the USB-C to USB Adapter to Your iPad
2) Run the USB 2.0 Cable from the Adapter to Your AKAI MPK Mini
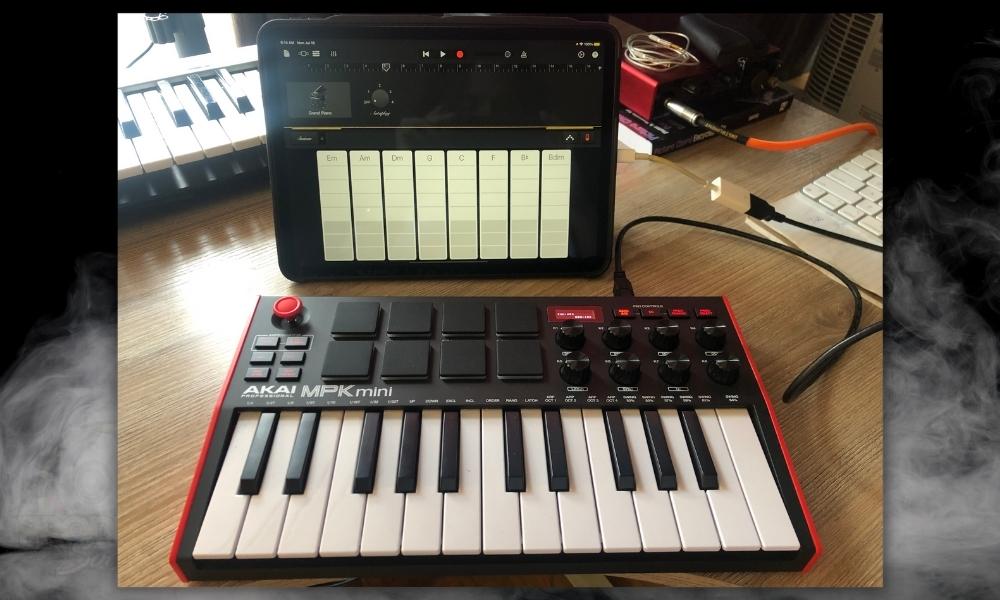
3) Turn On GarageBand iOS and the iPad Will Automatically Recognize It
Why Is There No Sound After Having Connected the AKAI MPK Mini?
MIDI controllers only work on software instrument tracks in GarageBand, including the iOS and macOS versions. This means if you try and use the AKAI MPK Mini with an audio track or drummer track, you won’t be able to hear anything as you would if you were using a proper software instrument track.
Other AKAI MPK Mini Articles
- What’s the Difference Between the AKAI MK2 & MK3? [ANSWERED]
- Is the AKAI MPK Mini Series Bluetooth? [ANSWERED]
- How to Use the AKAI MPK Mini Without A Computer [EASY]
Important Things to Note About GarageBand and the AKAI MPK Mini
1) The Same Principle Applies To Other MIDI Keyboards
This is pretty much the same for every other kind of MIDI device. As long you don’t have to install drivers, which I don’t think you can even do on the iPhone and iPad, then you’re good to go.
I don’t know about you, but I’m not a big fan of installing a bunch of programs and software to run a keyboard anyway. It’s annoying and inconvenient.
Gear Mentioned
1) USB-C to USB Adapter
2) j5 Create Multiport Adapter
3) USB Camera Adapter
4) PianoForAll


 Written By :