To connect a condenser microphone to a computer, you have to first connect an audio interface that has phantom power. You then run an XLR cable from the audio interface into your condenser microphone. Make sure you turn on the phantom power button and also use a pop filter and shock mount.
It really isn’t more complicated than that.
Gear You Need to Connect A Condenser Mic to Your Computer
1) An Audio Interface (Focusrite Scarlett 2i2)
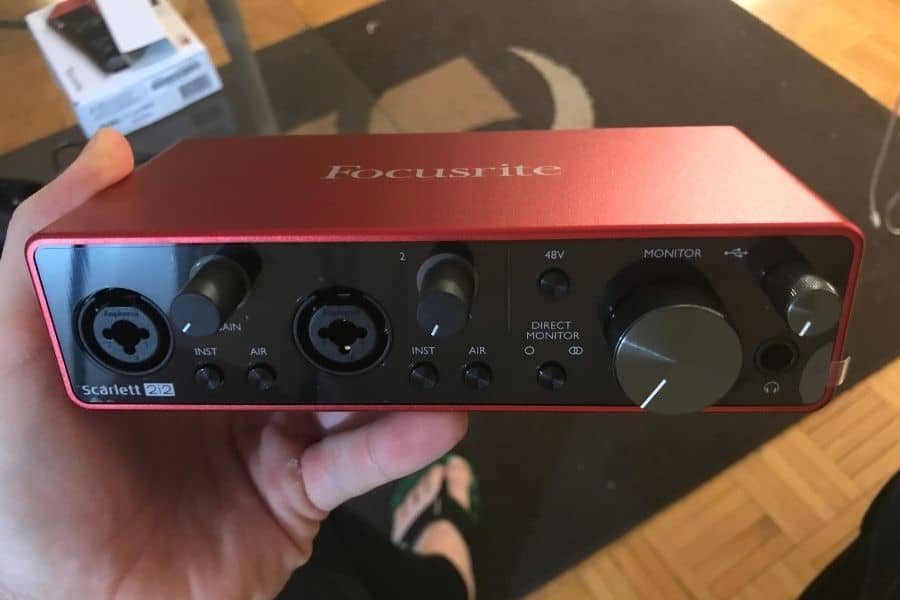
The Focusrite Scarlett 2i2, is the most popular audio interface because it’s the most reliable and probably because it looks cool as well.
The most recent model – the third generation – is smaller than the previous generations and has more of a sleek design. I couldn’t recommend it enough (in fact I already have). It’s a great little audio interface.
2) Condenser Microphone (Audio Technica AT2035)

If you’re on this page, there’s a good chance you already own a condenser microphone but assuming you don’t, the Audio Technica 2035 is a great choice (also on my Product Page).
I recommend it simply because I own one and I can personally vouch for it. Maybe there are better mics on the market. That could certainly be the case, but I know for a fact this is a good one.
3) XLR Cable (Any Brand, but D’Addario is Great)
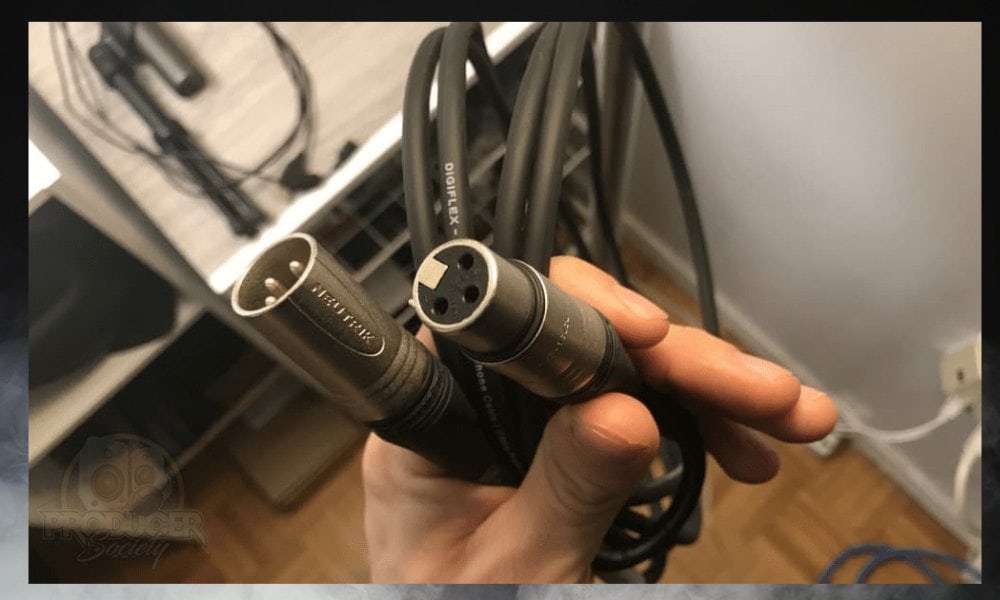
An XLR cable is the standard cable that nearly all mics use for their connection, whether it’s a dynamic, condenser, or ribbon microphone (except for USB mics). For that reason, you can really never have too many of them.
The Digiflex cable is a great option and it doesn’t cost a lot of money either. I would say the 10-foot cable is enough unless you know you need something longer.
Optional
4) USB to USB-C Adapter
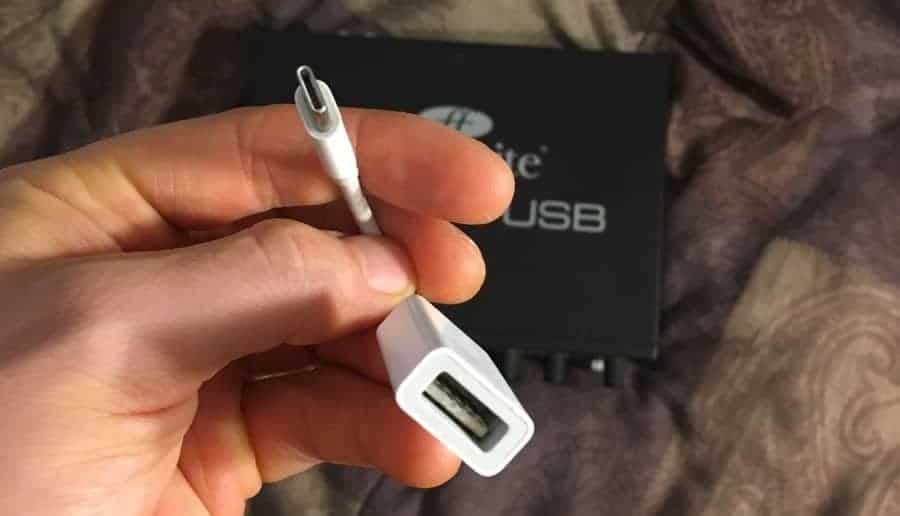
This is an essential piece of equipment that I use practically on a daily basis. If you have a MacBook Pro or some other similarly modern device, there is a good chance that you already own an adaptor like this, but if you don’t, they go for a good price on Amazon. This is the adapter that your audio interface will need to connect to.
5) Boom Arm, Wind Guard, Pop Filter, Shock Mount, Phone Holder
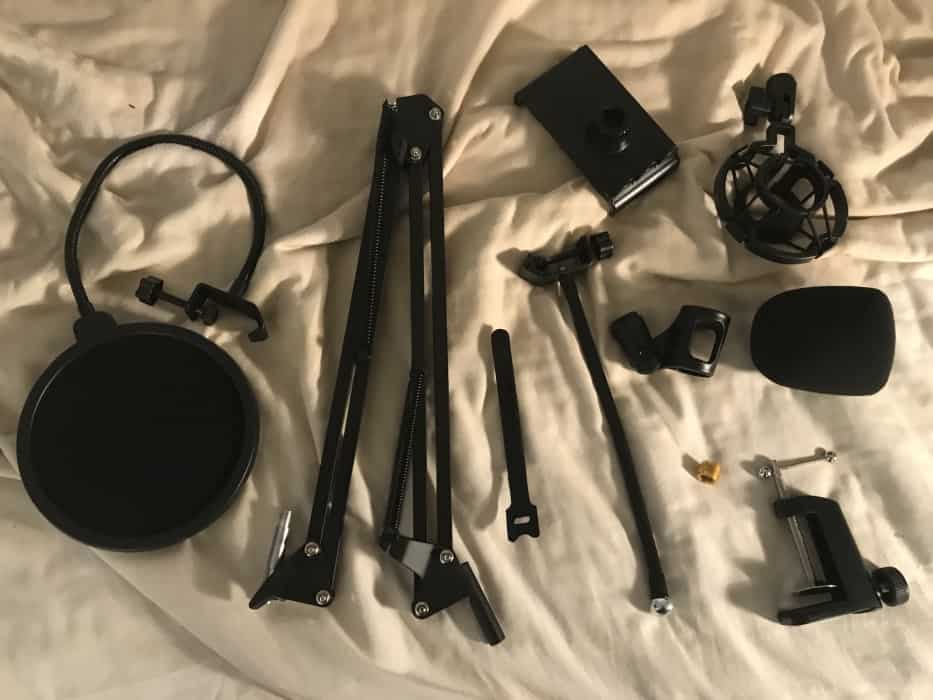
I bought this set recently from Amazon and I think it’s fantastic for what it costs. The price is right, and thus far, it’s doing just fine for what I need it for.
It comes with a boom arm, a pop filter (that I desperately needed), a phone holder, a wind guard, a shock mount, and a 5/8″ adapter in case your mic has a different-sized thread.
Connecting A Condenser Microphone to a Computer (A Step-By-Step Guide)
1) Connect the Audio Interface to Your Computer
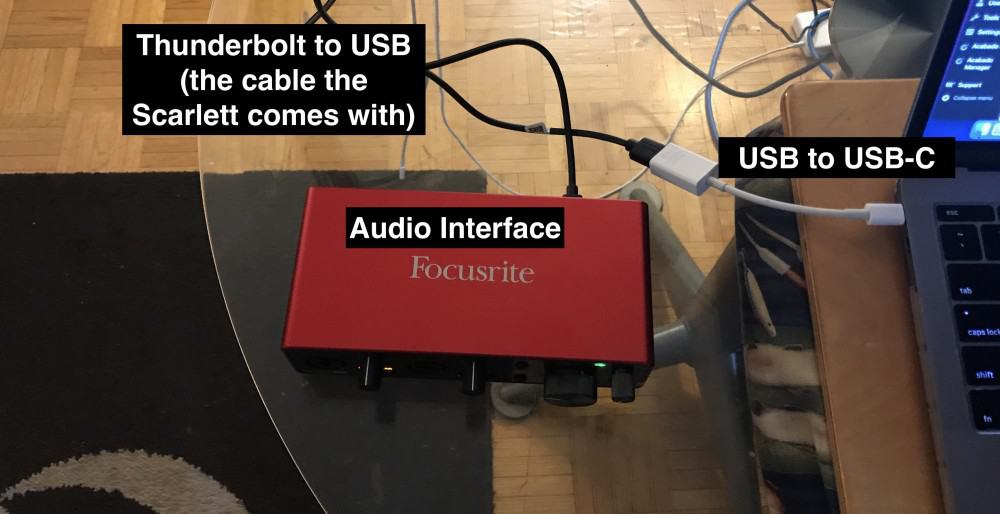
First, connect the USB to USB-C adapter to your computer, and then use the Thunderbolt to USB cable that the Focusrite Scarlett 2i2 comes with to connect it to the adapter.
From there, you should notice that the audio interface will turn on and light up on a few of its buttons, including on the “Gain” knob.
2) Connect the Mic to the Audio Interface Via XLR
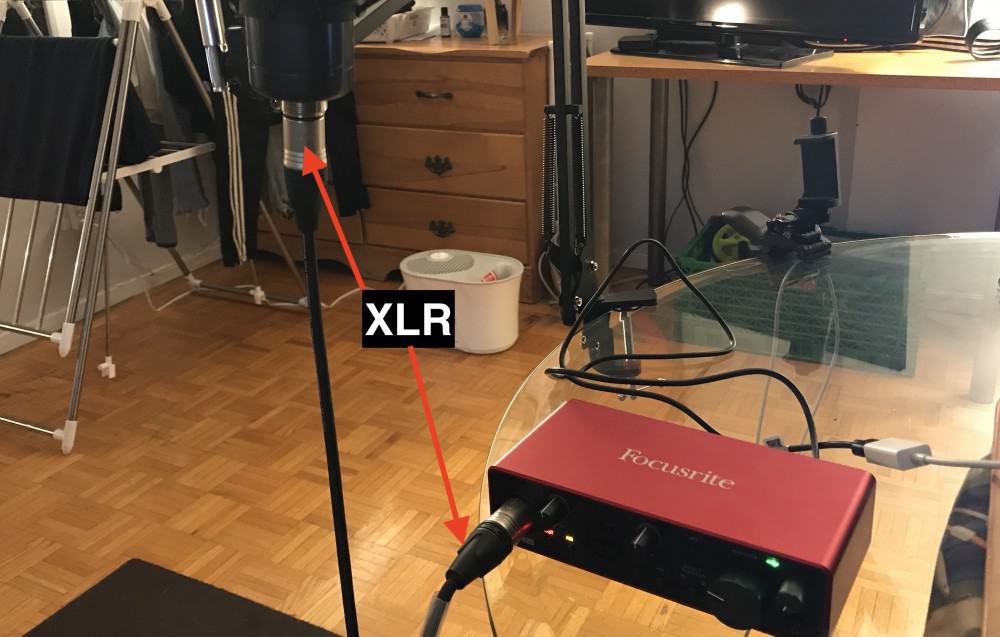
Grab your XLR cable and run it from the microphone to your audio interface. I would also make sure the gain knob is turned down just a little bit, just as a general rule.
There’s no sense in plugging into something with the volume cranked. I find that a good rule of thumb is to have the gain set to around half-way once you’ve started using it.
3) Turn on the Phantom Power Button
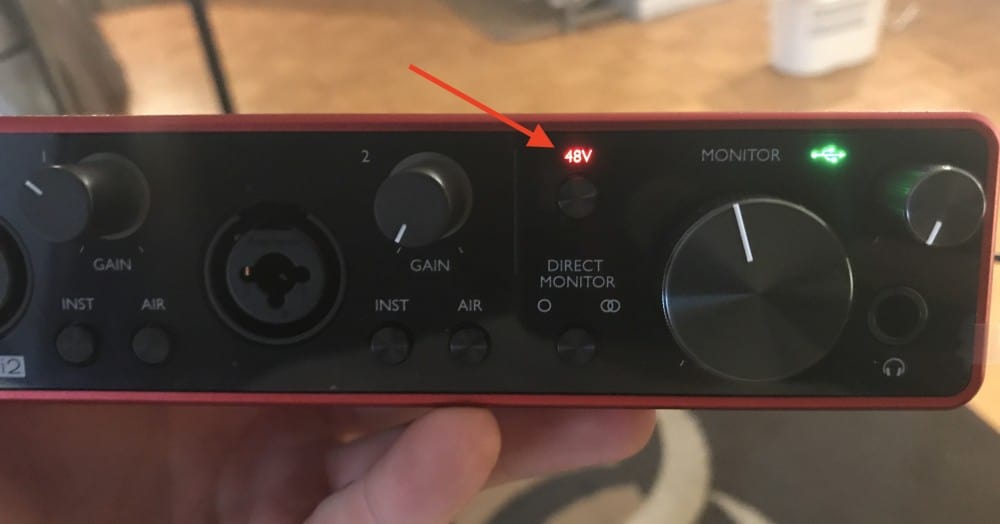
This one is self-explanatory, just hit the phantom power switch. It’s the button that says “48 V” over top of it. Once you’ve selected it, it should also turn a different colour.
If you’ll recall what I said at the start of the article, you’ll know this is the primary difference between the condenser and dynamic microphone in terms of its setup. You don’t need phantom power for a dynamic microphone.
4) Because Condenser Mics are Sensitive, It’s Best to Use A Shock Mount
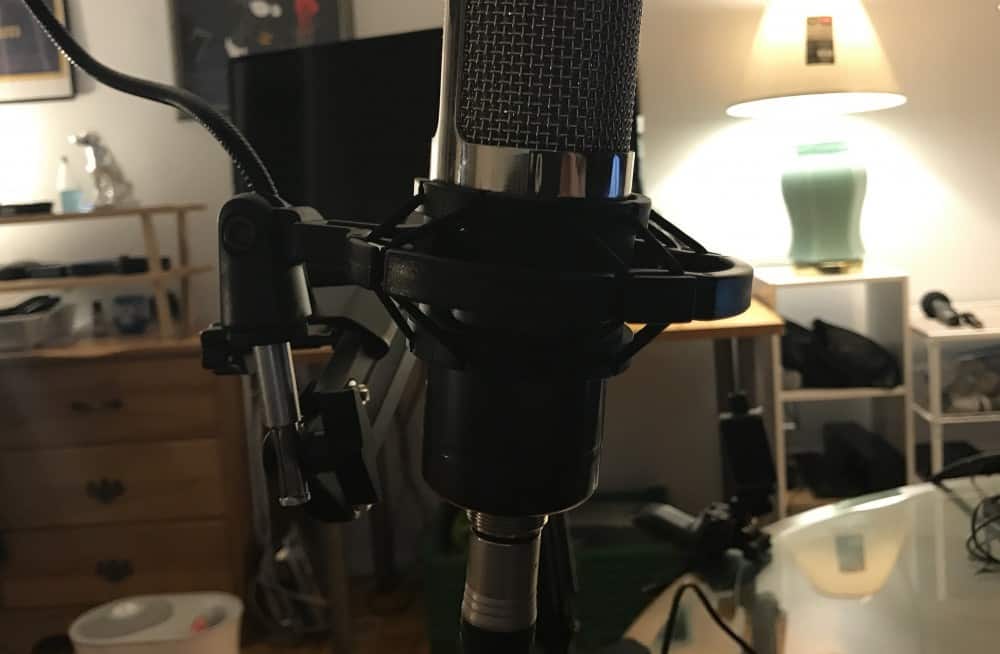
It’s best to use a condenser mic with a shock mount of some kind. Whether you get it from the set I mentioned above or as part of the mic purchase, it isn’t all that important.
What matters is you use a shock mount, because condenser microphones are more sensitive to subtle details and nuances. In fact, this is the defining feature that makes it different from dynamic microphones.
Condenser mics like the AT2021, for example, are for acoustic guitar recordings and they’re great at picking up on those little intricacies that perhaps a dynamic mic wouldn’t capture as well.
An unintended consequence of this is that the mic tends to pick up on desk bumps, the sound of the mic being moved around, etc.
Put simply, a shock mount prevents the microphone from picking up extraneous sounds like when your knee hits against the desk, for instance, or when you accidentally touch the mount with your hands because you forgot how sensitive the mic is.
5) Go into Your System Preferences to Set Up the Input
If your computer, for whatever reason, isn’t recognizing the microphone, make sure you go into the System Preferences and see if you can fix it in there.

Select “Sound,” and then go into the Input section, and select the option, “Focusrite Scarlett 2i2,” or whatever audio interface it is that you’re using. The same thing could be said if you were connecting it to a DAW of some kind as well, like Garageband, for example.
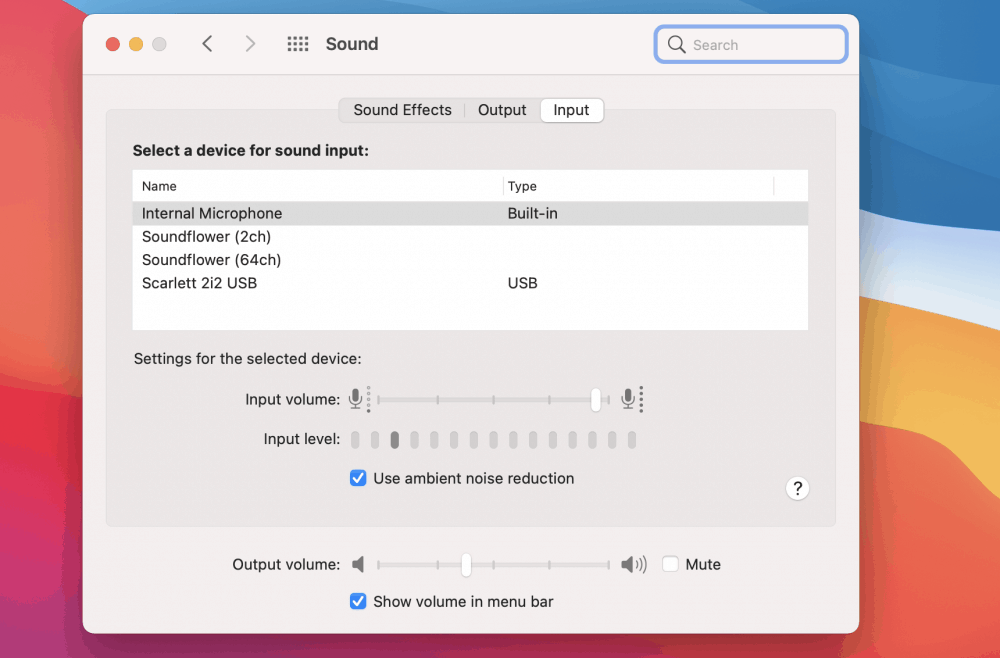
And that’s pretty much it for connecting a condenser microphone to a computer. Additionally, there are alternatives to this type of connection, including a USB condenser microphone like what we’ll explore in the sub-section below.
Alternatives for Connecting a Condenser Microphone to a Computer
1) USB Condenser Microphones (Audio Technica AT2020USBPLUS)
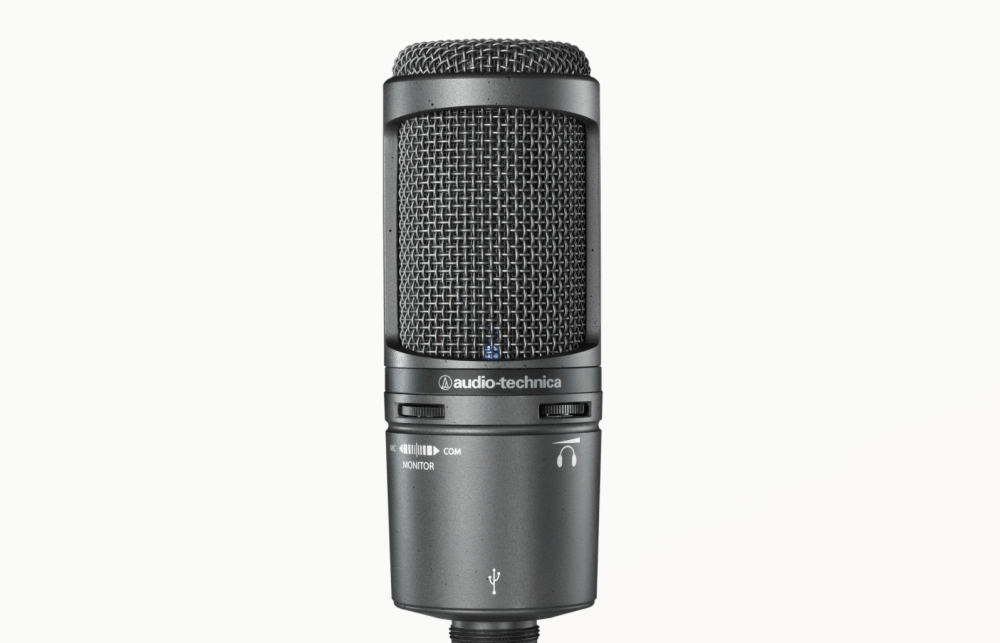
If you don’t want to use an audio interface for whatever reason like if you’re not interested in a home studio and you just want to use a condenser microphone without all of the other gear, you could use the AT2020USBPLUS from Audio Technica.
Essentially, it’s a similar microphone to the 2035 but it’s USB connection only. The AT2035 is going to sound a bit better than this one, but regardless, if you don’t want to use an audio interface, there are other options.
A lot of people don’t necessarily want or need an audio interface, because maybe they’re only interested in using a mic for conference calls or Zoom meetings. An audio interface like the Focusrite Scarlett 2i2 is going to come in handy for many of us who are into music and audio.
Important Things To Understand About Condenser Mics
1) Always Make Sure the Phantom Power Switch is Turned On

While it may seem obvious (because it is), you always want to make sure this button is turned on because otherwise, it’s not going to work as well as it could.
If you find yourself wondering why your microphone isn’t working that great, it’s very possible this is the culprit.
A condenser microphone needs phantom power to work at 100% of its potential, otherwise, you’re going to need to crank the gain after the fact to hear it.
2) Change System Preferences in Your DAW

Assuming you’re using a condenser microphone for a podcast or music production, you’ll also have to go into your digital audio workstation’s system preferences and change the input and output so it uses the microphone and the audio interface instead of the internal mic/speakers of the computer.
On a Mac, this is done in the System Preferences, whereas on Windows, it’s done in the Windows Control Panel.
It’s worth mentioning that if you choose to use a USB condenser microphone, rather than the audio interface being shown in the System Preferences/Control Panel, it’ll say the name of the specific mic.
YouTube Video Tutorial
Gear Mentioned in this Article
There were a lot of items mentioned in this article, but the main takeaway or the main thing that you need to buy if you want to connect a condenser microphone to a computer is an audio interface. Here’s a full list of what I mentioned already above:
Necessary
1) Scarlett 2i2 (Audio Interface)
2) AT2035 (Condenser Mic)
3) XLR Cable
4) Shock Mount
Optional
5) USB to USB-C Adapter
6) AT2021 (A Small Diaphragm Mic for Acoustic Guitars and More)


 Written By :
Hi Andrew , AI have a question I ve got a focusrite scarlett solo gen 4 bundle and condenser mic scarlett. I’m trying to record piano and vocals at a same time and condenser mic collect sounds of hand touch the piano keys . Perhaps it’s very easy solution but what could be? Using without shock mount mic positioning or its not possible to do at same time record abd vocal thanks for the help
Are you using a mic stand where the condenser microphone hangs over the piano, instead of placed next to or on the keys? If your stand is placed ON the piano, instead of above, it’ll pick up on the sounds of your fingers pressing the keys and other miscellaneous noises.